


Underlay Screw-Down and a 12×24 70/30 Floor in Terwillegar
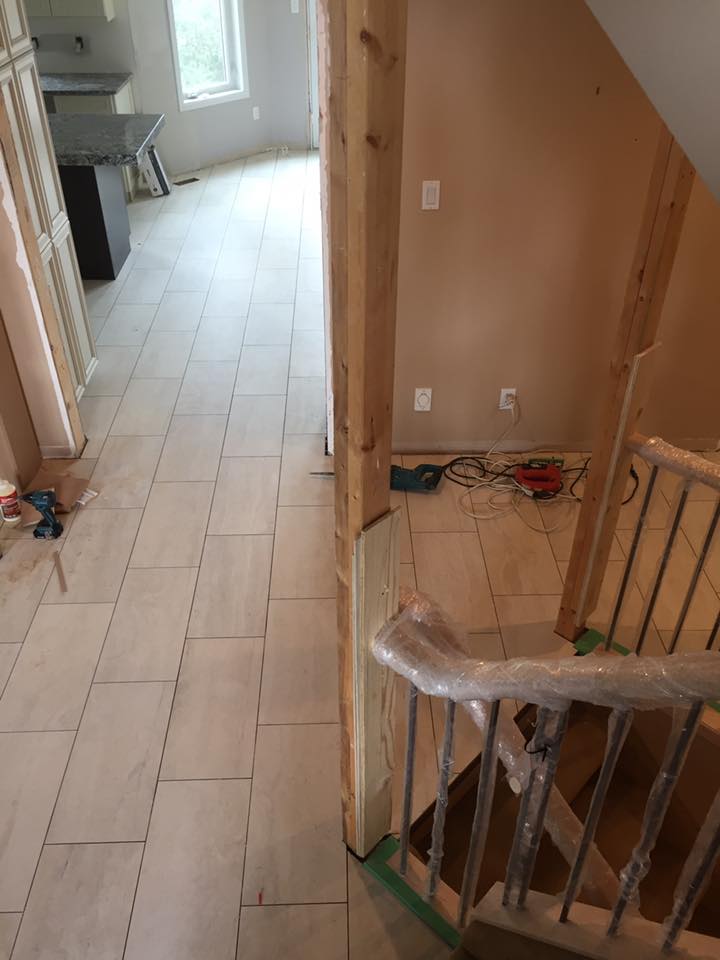
Terwillegar sits in south-west Edmonton along Terwillegar Drive, with a housing stock built largely through the late 1990s and 2000s. By the time the original floors in this stock arrive at renovation age, the underlay (the sheet of plywood that sits over the structural subfloor and carries the tile) has typically lived 15 to 20 years of seasonal movement. Any flex still present in the underlay translates directly into tile-pop on the new install, so the right place to start any Terwillegar floor renovation is at the substrate, not at the tile. On this Terwillegar project The Tile Experts ran a stripped-back, substrate-first scope: a complete underlay screw-down to eliminate every point of deflection, a 12 by 24 porcelain installed in a 70/30 staggered pattern, set with Laticrete 253 Gold mortar and grouted with Prism.
Why Screw Down the Underlay Before Anything Else
The first move on this floor was screwing the underlay down into the structural joists. The problem: in homes built through the late 1990s and 2000s, the underlay was typically stapled or nail-gunned to the subfloor with a construction-staple pattern that loosens over decades of seasonal expansion and contraction. By renovation age there is meaningful deflection between the underlay and the framing, even when the floor walks solid underfoot. The mechanism of failure: any flex under load gets transmitted into the bond coat above, and over time it breaks either the grout joint or the tile itself. This is why so many ten-year-old tile floors in Terwillegar show cracked grout lines along the high-traffic paths. The fix: running a fresh screw pattern through the underlay into every joist crossing pulls the assembly tight to the framing and eliminates the deflection that an aging stapled assembly carries. It is the most cost-effective single step in a floor renovation, and it is the difference between a tile floor that lasts a decade and a tile floor that lasts the life of the home.
The 12×24 Porcelain in a 70/30 Staggered Pattern
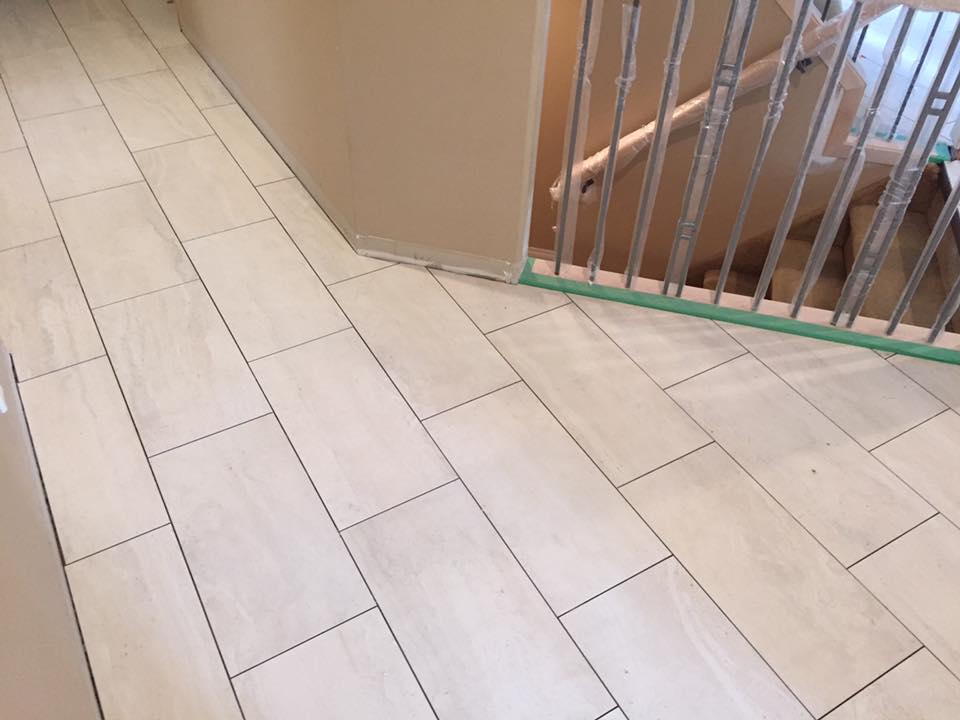
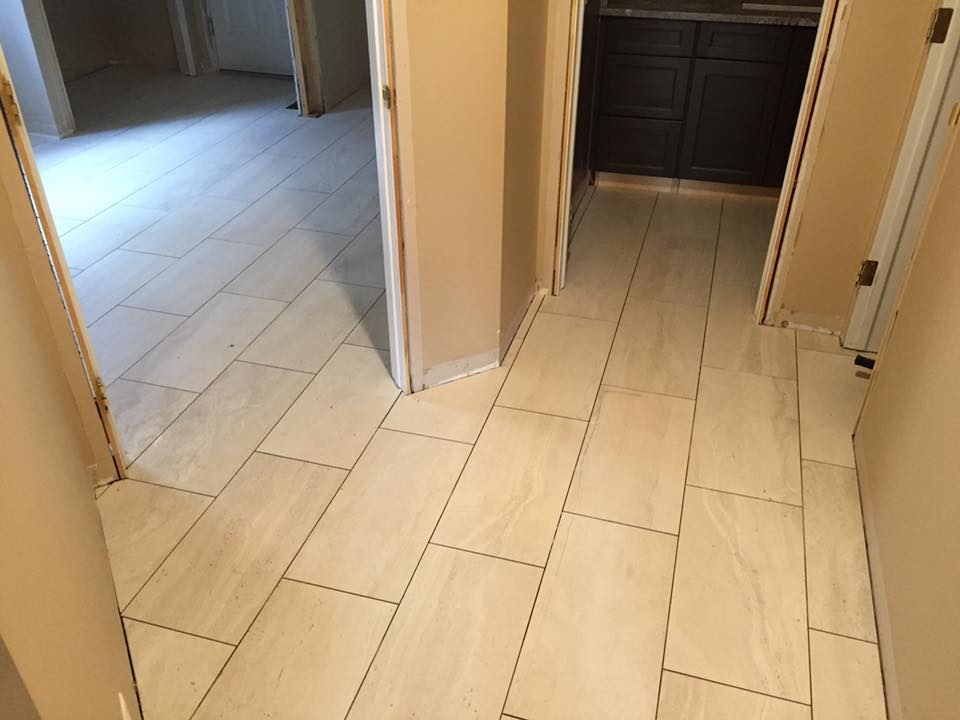
Once the underlay was screwed down and verified for deflection across the entire floor area, the 12 by 24 porcelain was installed in a 70/30 staggered pattern. Purpose: the 70/30 stagger (every course offset by 30 percent of the tile length rather than the classic 50 percent brick lay) is the manufacturer-recommended layout for any rectified tile longer than 15 inches. The reason: a long porcelain tile inherently has a small amount of bow across its length, and a 50/50 brick lay puts the maximum bow of one tile directly against the minimum bow of the next, which produces visible lippage at the joint centre. A 70/30 stagger keeps adjacent tiles closer in bow profile across the offset, which keeps every joint flush. Result: the floor reads as one continuous plane with no lippage anywhere across the install, and the install respects the manufacturer’s published flatness specification.
The Bond Coat: 253 Gold Laticrete Mortar
Every tile on this floor was set with 253 Gold Laticrete Mortar. Purpose: 253 Gold is a polymer-modified professional-grade thinset rated for porcelain over plywood underlay, with the bond strength and the open time the 12 by 24 format demands. Property: the polymer modification gives the bond coat the flexibility to absorb minor seasonal movement between the underlay and the tile face without breaking the bond, which is the right chemistry for a wood-framed Terwillegar floor that lives a full Edmonton seasonal cycle every year. Relationship: using a single bond coat across the entire renovation keeps the chemistry consistent room to room, and at the 12 by 24 format the bond coat has to be rated for the tile face area or the corners lift over time. 253 Gold meets that rating, which is why it was chosen here.
The Grout: Prism Across the Entire Floor
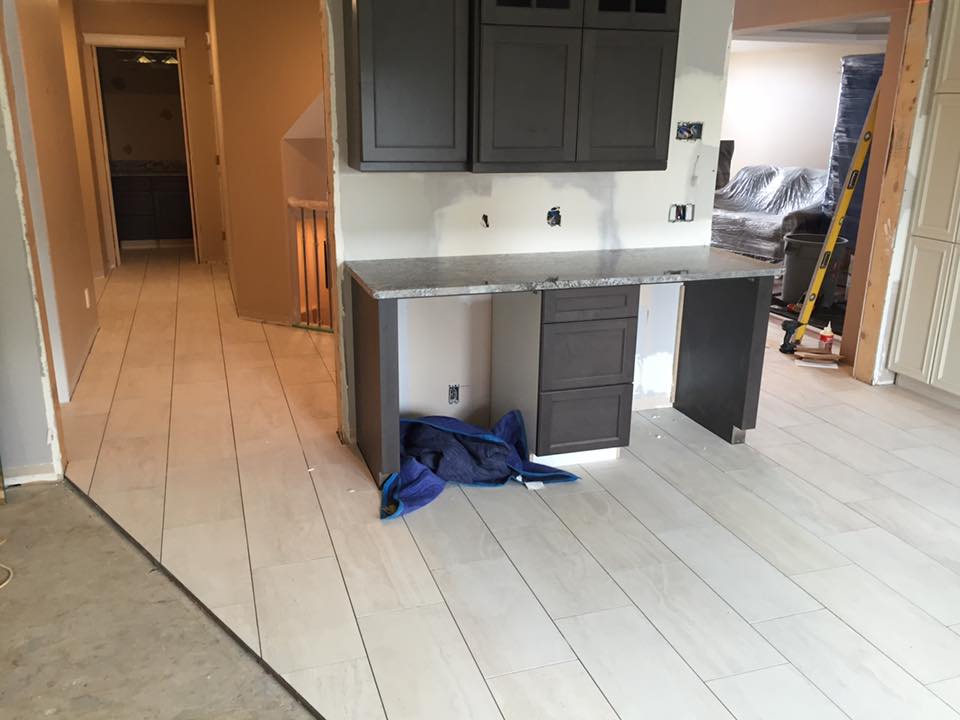
The renovation was grouted with Prism Grout. Purpose: Prism is a high-performance, stain-resistant calcium-aluminate cement grout that cures harder than standard portland-cement grout and resists efflorescence across any joint exposed to traffic and moisture. Property: the calcium-aluminate chemistry holds its colour through years of foot traffic, wet boots, and seasonal humidity cycling, which is exactly the load a Terwillegar floor lives under. Relationship: we matched the grout tone to the dominant tile face so the joint disappears into the field, and the 12 by 24 tile reads as one continuous architectural surface rather than as a grid of individual tiles. On a wood-framed home where the floor is the visual anchor of the open-plan main floor, that grout-match discipline is what makes the renovation look intentional rather than utilitarian.
Planning a floor renovation with underlay screw-down and a 12×24 install in Terwillegar or anywhere in south-west Edmonton? Call The Tile Experts at 587-333-9800 or request a quote.
The Discipline That Distinguishes a Substrate-First Floor
Most floor renovations focus on the tile selection and the layout pattern, but the project’s long-term durability is set at the substrate phase. What a substrate-first install looks like: every square foot of underlay is verified for deflection before any membrane or mortar goes down, every screw goes into a joist (not into the underlay alone), the screw pattern is set at a tight spacing along every joist crossing, and the floor is walked from end to end on hands and knees with the setter listening and feeling for any remaining flex. What it produces: a tile floor where the cracked-grout-line pattern that plagues so many ten-year-old Terwillegar floors simply does not appear, because the deflection that caused it has been engineered out at the start. The 12 by 24 porcelain on top is the visible part of the renovation; the substrate underneath is the part that determines how long it lasts.
Terwillegar Floor Renovation FAQ
How much does an underlay screw-down plus 12×24 floor install cost in Terwillegar?
For a project of this scope (full underlay screw-down across the floor area plus 12 by 24 porcelain in a 70/30 staggered pattern, set with Laticrete 253 Gold and grouted with Prism), plan on 12 to 20 dollars per square foot in tile-scope labour and material, depending on tile selection and total square footage.
Why screw the underlay down before installing tile in a Terwillegar home?
Late-1990s and 2000s homes typically have stapled or nail-gunned underlay that loosens over two decades of seasonal movement. Any remaining deflection translates into tile pop or cracked grout lines on a new install. A fresh screw pattern into every joist crossing eliminates the deflection at the source.
Why use Laticrete 253 Gold instead of a standard thinset?
At the 12 by 24 format the bond coat has to be rated for the tile face area, and on a wood-framed subfloor it has to absorb seasonal movement without breaking the bond. 253 Gold is a polymer-modified professional-grade thinset that meets both requirements, which is why it was chosen on this Terwillegar floor over a generic thinset.
Tile Installation in Terwillegar and South-West Edmonton
Terwillegar sits in south-west Edmonton along Terwillegar Drive, with neighbours in Magrath Heights, MacTaggart, Windermere, and Riverbend. Substrate-first floor renovations, underlay screw-downs, 12 by 24 porcelain installs, and large-format tile work are some of the most common projects in this 1990s and 2000s housing stock. The Tile Experts install floors, bathrooms, kitchens, custom showers, fireplaces, and feature walls across Terwillegar, Magrath, Windermere, and the rest of south-west Edmonton, plus the full capital region. Contact us or call 587-333-9800 for a free in-home walkthrough.
More Projects in Terwillegar and the Edmonton Area
Explore more recent tile installation work by The Tile Experts.
