


A Tub-To-Shower Conversion With Heated Floors and a Waterfall Mosaic in Hollick Kenyon
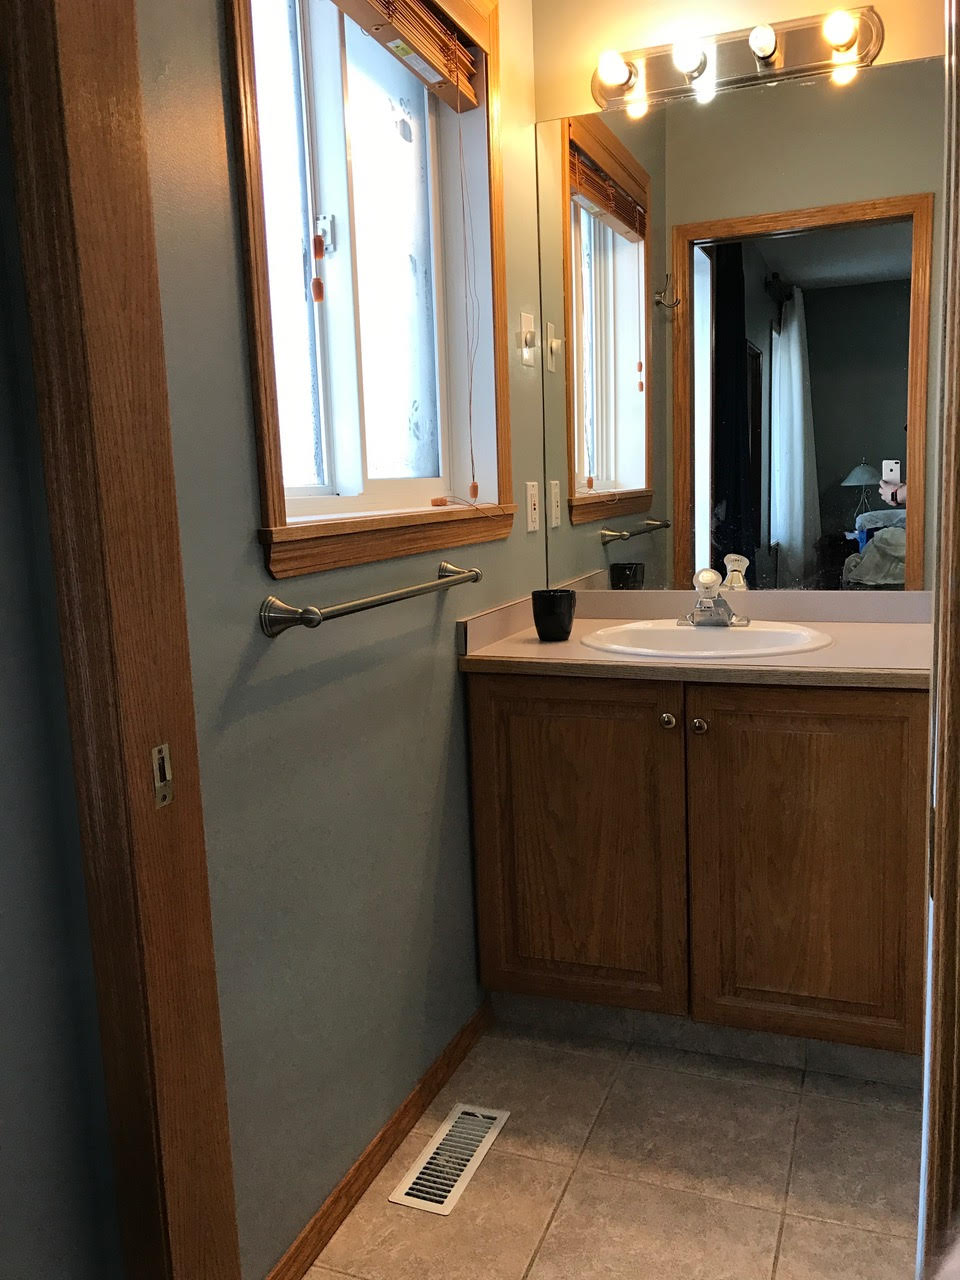
Hollick Kenyon is a northeast Edmonton residential neighbourhood east of 50 Street and north of 167 Avenue, built out across the late 1990s and 2000s. Bathrooms in Hollick Kenyon homes are now reaching the 20 to 25 year mark, which is exactly the renovation window where the original tub, surround, and floor tile are showing enough wear to justify a full gut and rebuild. On this Hollick Kenyon renovation The Tile Experts ran one of the most comprehensive single-bathroom scopes in the portfolio: full demolition of the existing tub surround and floor tile, drywall replacement, plumbing reconfiguration to swap the tub for a custom shower, subfloor preparation, a DitraHeat heated-floor assembly, full Kerdi waterproofing of every wet-zone surface, and a finished install of 4 by 16 subway in a vertical staggered pattern with a 4 inch waterfall mosaic accent.
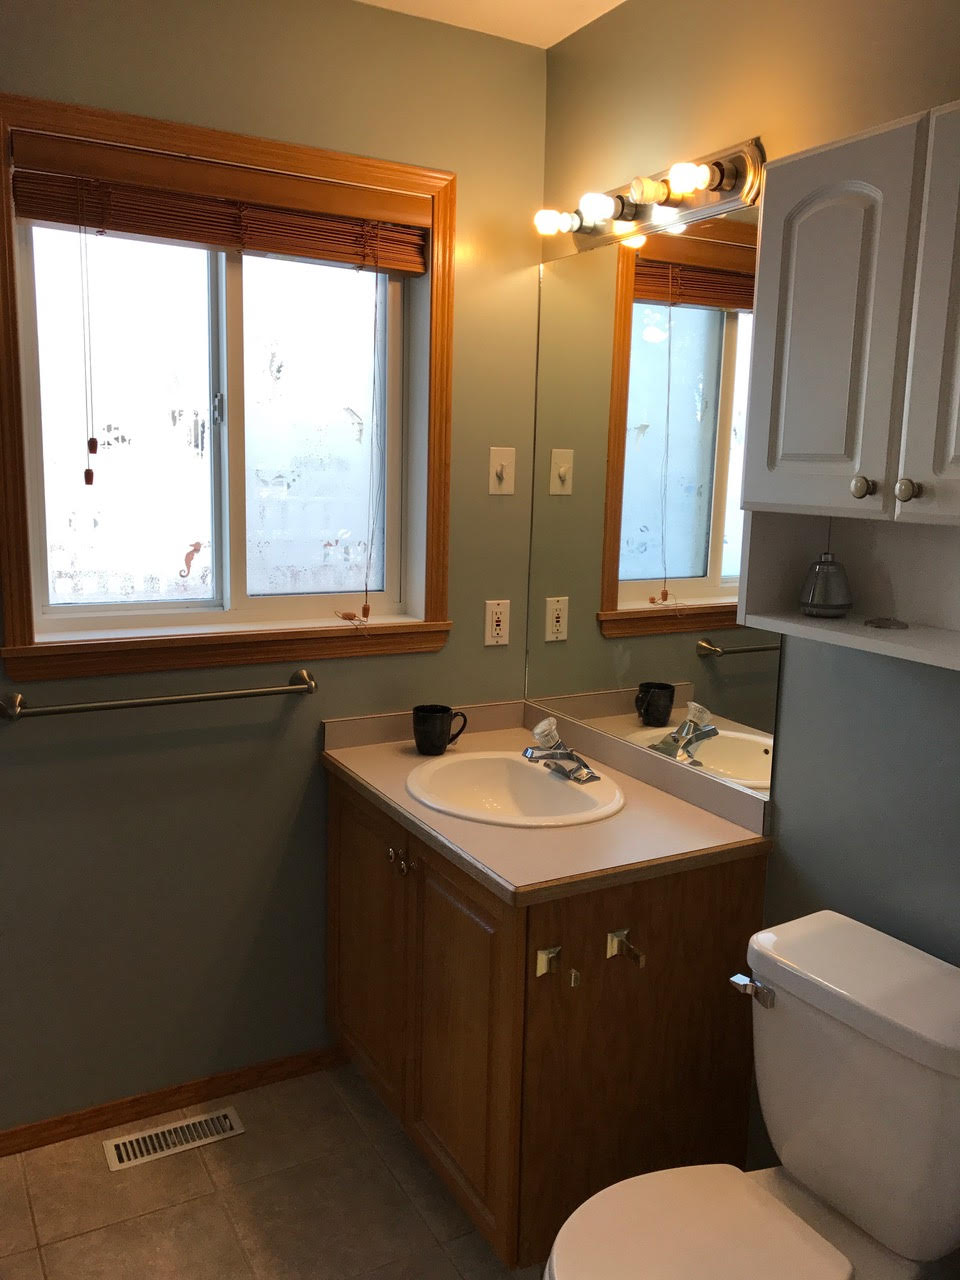
Tear-Out and Drywall Replacement
The renovation began with the tear-out of the existing tub surround tile. What the demolition revealed: the original tile was bonded tightly enough to the drywall that the tile and the drywall came off together, with the tile face still attached to the gypsum core of the drywall sheet. This is actually a common outcome on tub surrounds installed in the 1990s and 2000s where the bond coat (often a mastic) developed a stronger bond to the drywall paper face than the paper face had to the gypsum core, and removing the tile takes the drywall with it. Why this requires a full drywall replacement: with the drywall paper face peeling off, the substrate cannot be re-used for the new tile install. Attempting to re-tile over the damaged drywall would produce a bond coat with no reliable substrate to grip, and the new install would fail within the first few years. The right move is what we did here: tear the damaged drywall off the studs and install fresh moisture-resistant drywall as the substrate for the new Kerdi waterproofing assembly. The floor demolition: the original bathroom floor tile was also removed in the same demolition stage, opening the existing subfloor for inspection and prep work.
Plumbing Reconfiguration: Tub to Custom Shower
The homeowners on this renovation made a major program change: they did not want a tub in the new bathroom, and asked for a custom walk-in shower in the footprint the tub had occupied. What this requires: the existing tub drain and supply lines had to be reconfigured to serve the new shower geometry, with a new shower drain installed in the correct location for the new shower floor, and the supply lines re-routed to the new shower fixture locations. The homeowners selected their new fixtures (showerhead, controls, drain) before the plumbing rough-in, which let us configure the supply and drain runs to the exact fixture specifications rather than to a generic shower layout. Why pre-selecting fixtures matters: different shower fixtures have different rough-in dimensions, and pulling supply lines to a generic centre point and then trying to make them work with the actual selected fixtures produces awkward fixture locations or visible patch work. Pre-selection lets the rough-in match the final fixture exactly. The subfloor patch: the area where the tub had previously sat had a different subfloor configuration than the rest of the bathroom, because the tub had been supported on a partial subfloor with structural framing around the tub footprint. With the tub removed, that area had to be patched with a continuous subfloor matching the rest of the bathroom, and the patch had to be screwed down tight to the existing joists to prevent any movement at the seam between the patch and the original subfloor.
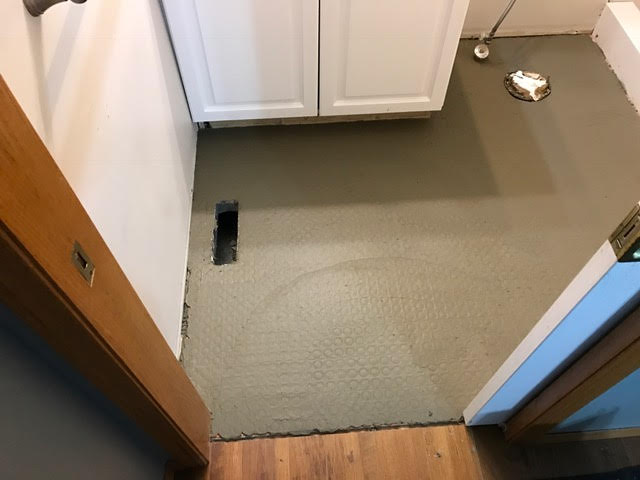
Subfloor Screw-Down Across the Whole Bathroom
Beyond the patch where the tub had been, the entire bathroom subfloor was systematically re-screwed before any floor tile prep began. Why: the original subfloor was fastened to the joists with nails that had backed off across the 20 plus years since the home was built, and any subfloor movement at this stage would transmit directly into the new heated-floor assembly and the tile above. The screw-down discipline: the prep crew walked the entire bathroom floor with a screw gun, sinking screws every 6 to 8 inches along every joist line, locking the subfloor tight to the joists at every fastener point. This step is invisible in the finished bathroom but is what protects the tile from popping over the warranty life of the install.
DitraHeat for the Heated Floor
The homeowners specified a heated tile floor in the new bathroom, and the system used here was Schluter DitraHeat. What DitraHeat is: DitraHeat is an uncoupling membrane (similar to the conventional Ditra membrane) that has integrated channels designed to receive heating cable rather than just decoupling the tile from substrate movement. The membrane sits between the subfloor and the bond coat, and the heating cable snakes through the channels to deliver radiant heat directly under the finished tile surface. The thermostat verification stage: before any bond coat went over the cable, the install crew verified the thermostat was working in conjunction with the cable, confirming the resistance reading matched specification and the thermostat correctly registered the cable temperature. This verification is critical because once the bond coat covers the cable, any cable fault becomes a tear-out repair rather than a quick fix. The bond coat sequence over DitraHeat: the first layer of mortar was spread over the cable to encapsulate it inside the DitraHeat channels, and the assembly was left to cure for a day. The tile was then set on top of the encapsulating layer using a second bond coat application. This two-stage approach is what protects the cable from setting-trowel damage and produces the smooth, fully encapsulated cable assembly that holds up across decades of operation.
Kerdi Membrane Across Every Wet-Zone Surface
Once the floor tile was down and cured, the shower assembly began with full Kerdi membrane waterproofing. The coverage: Kerdi membrane was laid over the new drywall around the shower enclosure, over the niche (the recessed wall cavity for shampoo and soap storage), over the shower pan (the floor surface inside the shower enclosure with the drain), over the curb (the raised threshold separating the shower from the bathroom floor), and over the bench (the seated surface inside the shower). Why every wet-zone surface gets Kerdi: the conventional shower wall waterproofing strategy depends on cement board plus a top-coat liquid waterproofer at the seams, with the assumption that water that penetrates the tile and grout will be stopped before reaching the structure. A continuous Kerdi membrane assembly waterproofs every wet-zone surface uniformly, with every seam between membrane sheets sealed with Kerdi-band overlap. The niche detail: the niche is one of the most failure-prone elements of a custom shower because it sits in a continuous wet-zone with multiple inside corners and the back wall of the niche pocket is recessed below the surrounding wall surface. Kerdi-banding every corner of the niche is the discipline that prevents niche failure across the warranty life. The bench detail: the bench is a horizontal seated surface with a slight slope toward the shower floor, and the slope plus the seam between the bench top and the side walls is another high-failure-mode area. Continuous Kerdi membrane wrapping the bench top, the front face, and the side walls eliminates the seam failure mode.
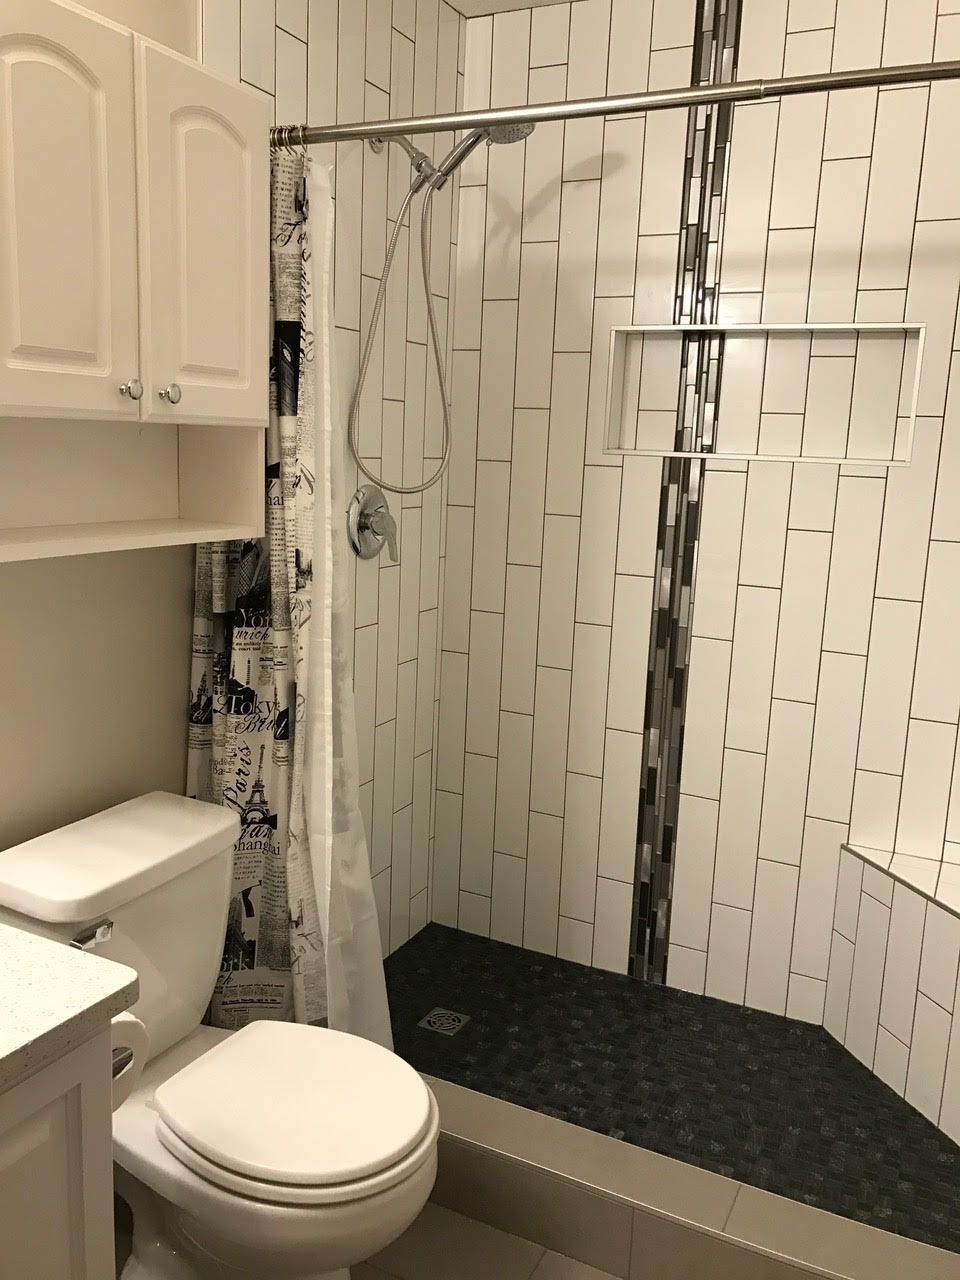
4×16 Subway in a Vertical Staggered Pattern Plus a 4-Inch Waterfall Mosaic
The shower walls on this renovation are tiled in a 4 by 16 subway, installed in a vertical staggered pattern. What a vertical staggered pattern looks like: the 4 by 16 tiles are oriented vertically (the long dimension running floor to ceiling rather than wall to wall), and the joint between adjacent tiles is staggered by half a tile from the joint of the next column. The result is a vertical brick lay that pulls the eye upward and gives the shower a taller, more architectural reading than a horizontal subway. Why vertical staggered on a shower: in a shower enclosure where the ceiling height is fixed, a vertical lay emphasizes that ceiling height and produces a more contemporary feel than the horizontal subway reading. The vertical lay also handles the typically narrower shower wall dimensions better, with fewer awkward perimeter cuts. The waterfall mosaic accent: a 4 inch wide vertical band of mosaic tile runs from ceiling to floor on one shower wall, set into the subway field. The mosaic produces a continuous vertical band that reads as a waterfall of small tiles cascading down the wall, which is the design move that elevates the shower from a clean production install to a designed feature. The bond coat across the shower: the subway and the mosaic were both set with a Kerdi-rated thinset, with the chemistry compatibility between the membrane and the bond coat that makes the assembly perform as one continuous waterproofed wall.

The 12×24 Staggered Floor and the Toe-Kick Detail
The bathroom floor outside the shower enclosure was tiled in a 12 by 24 porcelain laid in a staggered pattern, set over the cured DitraHeat assembly. The staggered lay: the 12 by 24 was offset by one third rather than one half, which is the standard offset for large-format plank-adjacent tile because a 50 percent offset on a tile longer than 18 inches risks visible lippage at the corner where adjacent tiles meet at different bond coat heights. The one third offset minimizes the lippage risk while still producing a strong horizontal pattern reading across the floor. The toe-kick detail: we were asked to install a toe-kick tile on the existing cabinet to replace where the old tile had previously fit at the cabinet base. A toe-kick is the narrow horizontal strip of tile that runs along the base of the cabinet at floor level, and replacing it on a renovation requires matching the new floor tile (or coordinating tile) along that narrow strip without visible cut-off seams. The grout: the floor was grouted with Prism Grout, with the colour stability that the staggered grid layout demands.
The Full Renovation Scope Beyond the Tile
The tile install was the centrepiece of this renovation, but the full project covered a broader scope: removal of the existing toilet and installation of a new one, refinishing of the existing bathroom cabinet, installation of a new quartz countertop, painting of the walls, and installation of new baseboards once the floor was complete. Why scope coordination matters: a full bathroom renovation that involves multiple trades is only as good as the coordination between them, and the sequence is critical. The plumbing rough-in had to be complete before the drywall could close up, the drywall had to be in place before the Kerdi membrane assembly, the floor tile had to be complete before the baseboards could go on, the cabinet refinishing had to happen before the quartz top was templated, and the paint had to be on the walls before the toilet was reinstalled. Running one trade out of sequence produces rework cost, and rework on a renovation that depends on watertight assemblies is the kind of cost that destroys a project budget.
Planning a full bathroom renovation with tub-to-shower conversion, heated floors, Kerdi waterproofing, and a custom shower with mosaic accent in Hollick Kenyon or anywhere in northeast Edmonton? Call The Tile Experts at 587-333-9800 or request a quote.
Hollick Kenyon Bathroom Renovation FAQ
How much does a full bathroom renovation with tub-to-shower conversion, heated floors, and custom shower scope cost in Hollick Kenyon?
For a project of this scope (full demolition, drywall replacement, plumbing reconfiguration from tub to shower, subfloor screw-down and patch, DitraHeat heated-floor assembly, full Kerdi membrane waterproofing on every wet-zone surface, 4 by 16 subway in vertical staggered with 4 inch waterfall mosaic, 12 by 24 staggered floor with toe-kick detail, plus toilet replacement, cabinet refinishing, quartz countertop, paint, and baseboards), plan on 28,000 to 48,000 dollars in total renovation labour and material, with the custom shower geometry and the fixture selections as the primary cost drivers.
Why do tub-to-shower conversions require a subfloor patch?
The area where the tub previously sat typically has a different subfloor configuration than the rest of the bathroom because the tub was supported on a partial subfloor with structural framing around the tub footprint. With the tub removed, that area needs a continuous subfloor patch screwed tight to the joists, matching the rest of the bathroom floor and preventing movement at the seam.
Why verify the heated-floor thermostat before the bond coat goes over the cable?
Once the bond coat covers the heating cable, any fault in the cable or thermostat becomes a tear-out repair rather than a quick fix. The pre-encapsulation verification confirms the resistance reading matches specification and the thermostat correctly registers the cable temperature. See our heated tile surfaces service.
Tile Installation in Hollick Kenyon and Northeast Edmonton
Hollick Kenyon sits east of 50 Street and north of 167 Avenue, with neighbours in Belmont, Clareview, McConachie, Schonsee, and the broader northeast residential and new-build corridor. Full bathroom renovations with tub-to-shower conversions, heated-floor assemblies, custom Kerdi shower builds, and coordinated multi-trade scopes are some of the most common projects in this maturing 1990s and 2000s housing market that is now well into its first major renovation cycle. The Tile Experts install bathrooms, kitchens, floors, custom showers, fireplaces, and feature walls across Hollick Kenyon, Belmont, Clareview, McConachie, Schonsee, and the rest of northeast Edmonton, plus the full capital region. Contact us or call 587-333-9800 for a free in-home walkthrough.
More Projects in Hollick Kenyon and the Edmonton Area
Explore more recent tile installation work by The Tile Experts.
