


Whole-Home 12×24 Tile Package and a 2×20 Glass Backsplash in Riverbend
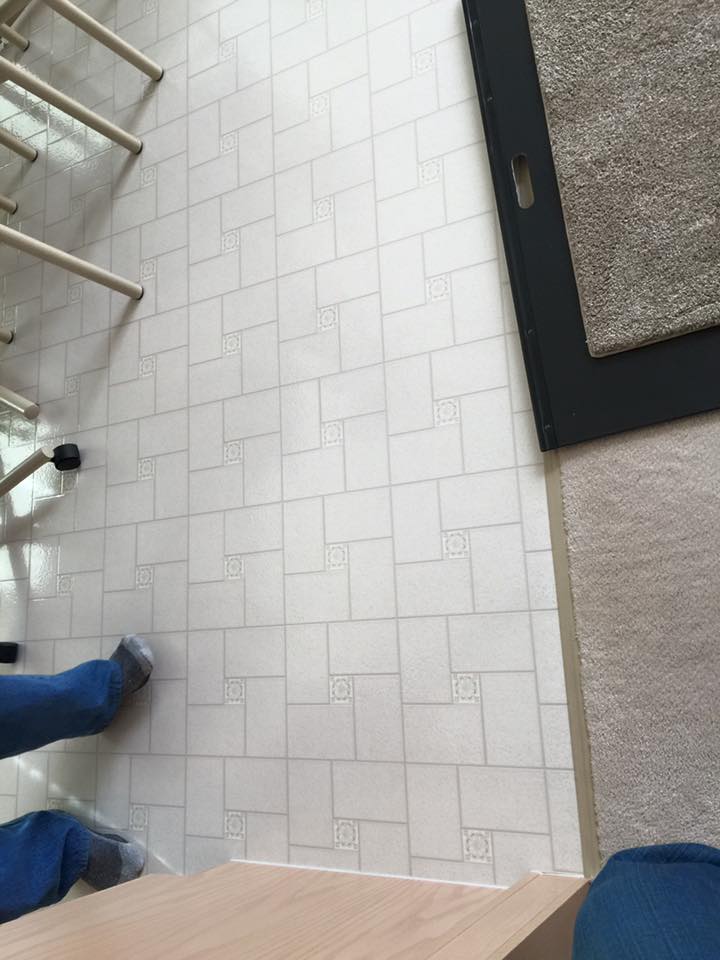
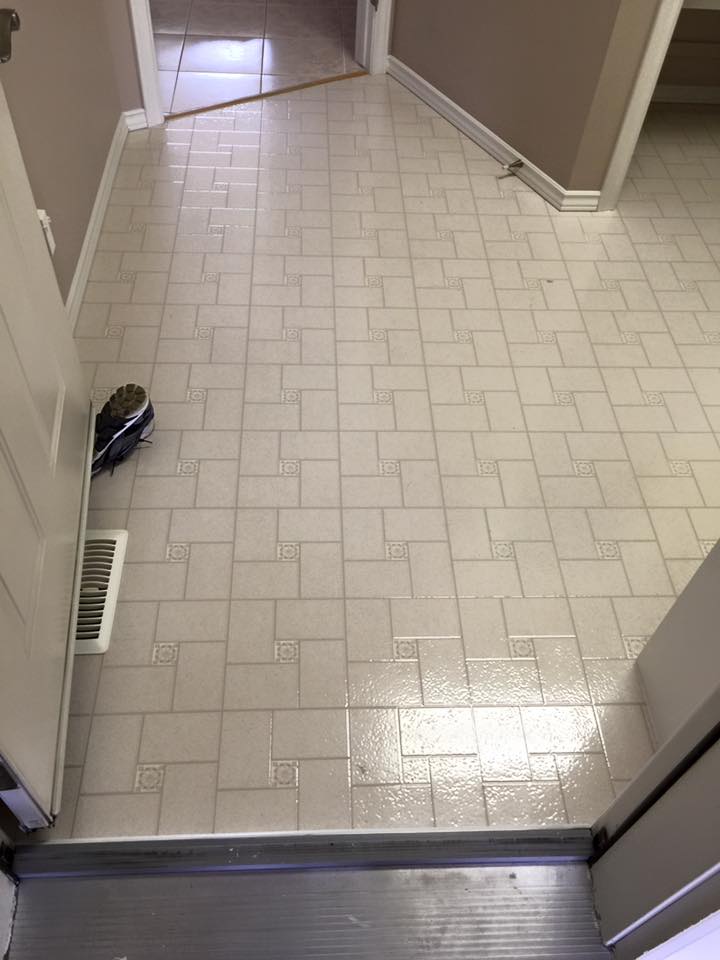
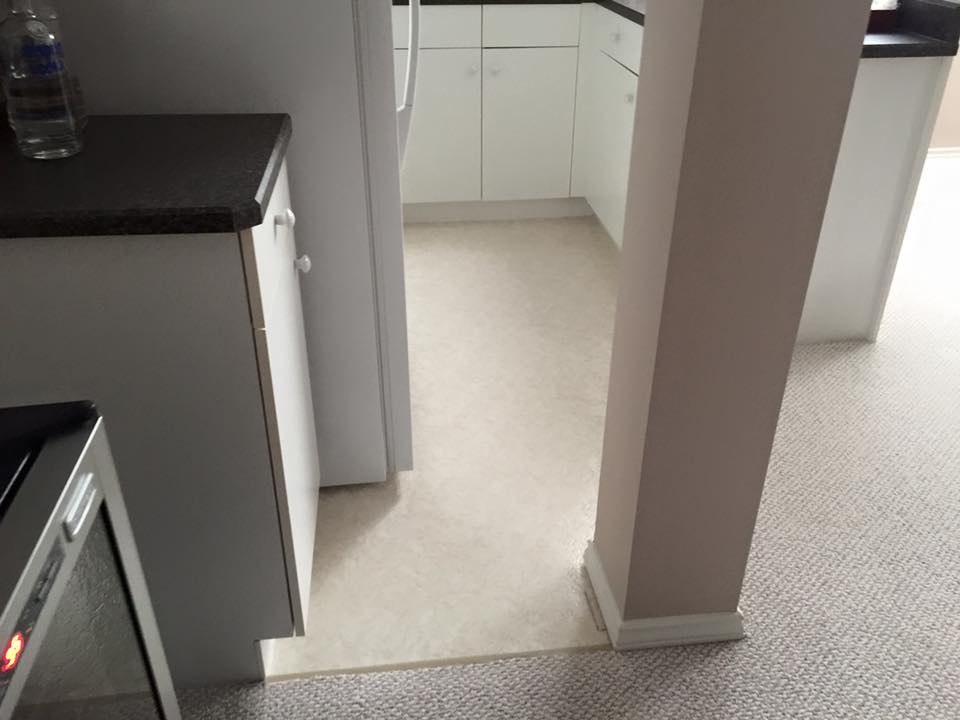
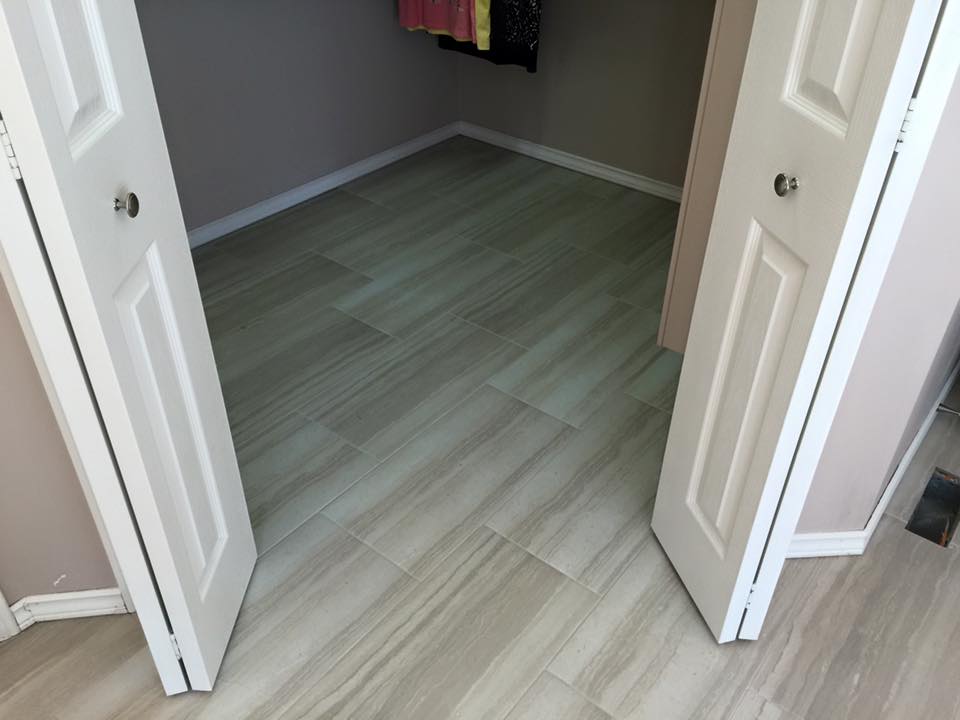
Riverbend is one of south-west Edmonton’s most desirable communities, wrapping the North Saskatchewan River valley between Whitemud Drive and Terwillegar. The housing stock here runs from established 1980s and 1990s upper-end homes through more recent custom builds, and many of these homes carry tile through nearly every common-area room rather than just the bathrooms. On this Riverbend renovation The Tile Experts handled exactly that scope: a coordinated 12 by 24 porcelain across the ensuite, main bath, kitchen, laundry, bar, and basement bath, set in a 70/30 staggered pattern with 253 Gold Laticrete, plus a 2 by 20 glass backsplash in the kitchen with darker glass pieces scattered through a random pattern.
Why a Single Tile Across Six Rooms Reads as One Renovation
The homeowners specified the same 12 by 24 porcelain in the same 70/30 staggered layout across every tiled room in the house. Purpose: on a home where tile crosses six rooms, the eye is constantly comparing what it sees in one room to what it just saw in another. Specifying one tile, one pattern, and one bond coat across all six rooms collapses that comparison into a single read: every tiled surface in the house is part of the same composition. Property: the 12 by 24 format scales gracefully from a compact basement bath up to an open kitchen-laundry zone without changing its visual weight. Relationship: 253 Gold Laticrete Mortar is a polymer-modified professional-grade thinset rated for porcelain over a wide range of substrates, from the basement slab to the wood-framed main floor, which is the chemistry consistency a whole-home install demands. The 70/30 stagger is the manufacturer-recommended layout for any rectified tile longer than 15 inches, because it pairs adjacent tiles closer in bow profile and prevents the centre-of-tile lippage a 50/50 brick lay would introduce on a 24 inch face.
Linoleum Left in Place: When Screwing Down Beats Tearing Out
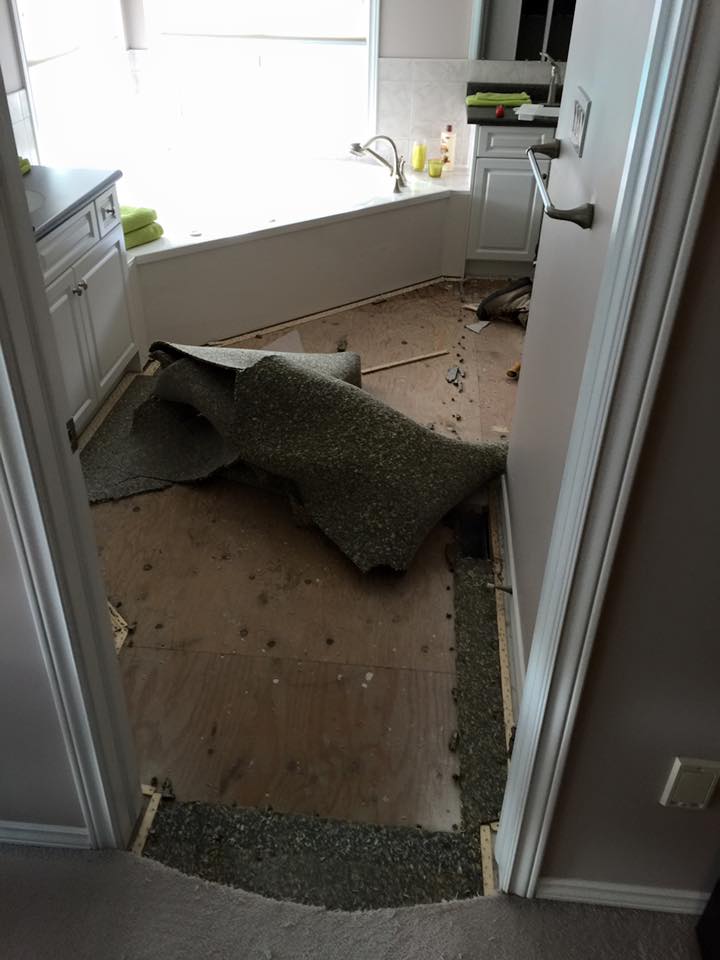
The original main-floor linoleum in this Riverbend home was extremely well installed (tight to the perimeter, fully adhered, no soft spots), and the demolition decision here went the way an experienced setter calls it rather than the way a textbook does. The textbook call: rip out the linoleum, expose the plywood, prepare the substrate from scratch. The site call: if the linoleum is tightly adhered with no soft zones, removing it can damage the plywood beneath and create a worse substrate than leaving it in place. What we did instead: we screwed the floor down extensively to make sure every span of plywood underneath was tight to the joists, then verified there was no flex anywhere across the floor. Why this matters: a flexing subfloor is what pops tile years after the install. The linoleum was inert as a layer; the plywood-to-joist connection was the real engineering question, and addressing it with hundreds of additional screws produced a stiffer substrate than a tear-out would have. The tile that went over it is now bonded to a floor that does not move.
Self-Leveling Clips on the Basement Floor
The basement bath floor presented a different substrate problem: a slab that, like most foundations, was not perfectly level. The risk: a 12 by 24 tile on an imperfectly level slab will show lippage at every joint where one tile sits higher than its neighbour, and on a 24 inch face that lippage is immediately visible to the eye and unpleasant under bare feet. The mitigation: we used a self-leveling clip system across every joint of the basement floor. The clips pull adjacent tiles to the same plane while the bond coat sets, so when the clips are snapped off the next day the floor reads as one continuous surface. The chemistry pairing: 253 Gold Laticrete is the bond coat for both the basement slab and the wood-framed upper floors, which means the install can run between the two substrate types without changing material specification. On a whole-home renovation where the basement bath has to read as part of the same composition as the kitchen above it, that consistency matters.
The Kitchen Backsplash: 2×20 Glass Tile in a Random Pattern
The kitchen backsplash on this Riverbend renovation moves in the opposite design direction from the floor: where the floor is one tile, one layout, one tone across the whole home, the backsplash is a 2 by 20 glass tile installed in a random pattern with deliberately darker glass pieces scattered through the field. Visual story: the elongated 2 by 20 face reads as architectural, the random pattern breaks up any visual rhythm that would compete with the cabinetry, and the scattered darker pieces give the backsplash a depth that a uniform field would not have. Property: glass tile demands a setter who can read the field as a composition rather than as a grid; the random pattern only works if the dark pieces are distributed by eye to avoid visible clusters or stripes. Bond chemistry: the 2 by 20 glass on this backsplash was set with a chemistry compatible with translucent glass tile so the bond coat colour reads consistently behind every piece, and the joints were finished with the same grout as the rest of the home for visual continuity.
Prism Grout Across Every Surface
Every joint in the whole-home renovation (six floors of 12 by 24 porcelain and the kitchen’s 2 by 20 glass backsplash) was finished with Prism Grout. Purpose: using one grout across every tiled surface keeps the joint tone and the joint chemistry consistent from room to room. Property: Prism is a high-performance, stain-resistant calcium-aluminate cement grout that cures harder than standard portland-cement grout and resists efflorescence across the moisture-cycling exposure of three bathrooms, a kitchen, a laundry, and a basement bath. Relationship: on a renovation where the tile field is intentionally uniform across six rooms, a single grout colour reinforces that the install is one composition rather than six. The grout was matched to recede into the tile face on every floor, so the eye reads each room’s flooring as one surface rather than as a grid of 12 by 24 tiles.
Planning a whole-home tile package or a custom glass backsplash in Riverbend or anywhere in south-west Edmonton? Call The Tile Experts at 587-333-9800 or request a quote.
Riverbend Whole-Home Tile FAQ
How much does a whole-home tile renovation cost in Riverbend?
For a project of this scope (12 by 24 porcelain in a 70/30 stagger across the ensuite, main bath, kitchen, laundry, bar, and basement bath, plus a 2 by 20 glass kitchen backsplash in a random pattern), plan on 28,000 to 48,000 dollars in tile-scope labour and material, depending on tile selection and total square footage.
Should existing linoleum always be removed before tile installation?
Not necessarily. If the linoleum is fully adhered with no soft spots and the plywood beneath is sound, screwing the floor down to stiffen the plywood-to-joist connection often produces a better substrate than a tear-out would. The right call depends on what the existing flooring is doing structurally, which is something an experienced setter has to assess on site.
Why use self-leveling clips on a basement floor?
Foundation slabs are rarely level enough for a 12 by 24 tile to lie flat at every joint without help. A self-leveling clip system pulls adjacent tiles to the same plane while the bond coat sets, which eliminates lippage at every joint. The clips snap off cleanly the next day. See our floor tile installation service.
Tile Installation in Riverbend and South-West Edmonton
Riverbend wraps the North Saskatchewan River valley between Whitemud Drive and Terwillegar Drive, with neighbours in Brookside, Ramsay Heights, Bulyea Heights, and Henderson Estates. Whole-home tile packages, large-format 12 by 24 installs, custom glass backsplashes, and substrate-discipline projects on mixed-substrate homes are some of the most common projects in this upper-end housing stock. The Tile Experts install bathrooms, kitchens, floors, custom showers, fireplaces, and feature walls across Riverbend, Brookside, Ramsay Heights, and the rest of south-west Edmonton, plus the full capital region. Contact us or call 587-333-9800 for a free in-home walkthrough.
More Projects in Riverbend and the Edmonton Area
Explore more recent tile installation work by The Tile Experts.
