Transforming your space begins from the ground up, and mastering flooring and tile installation is the key to achieving that flawless finish you’ve always desired. Whether you’re a DIY enthusiast eager to tackle a new project or a homeowner looking to refresh your interiors, this ultimate guide will provide you with all the insights you need.
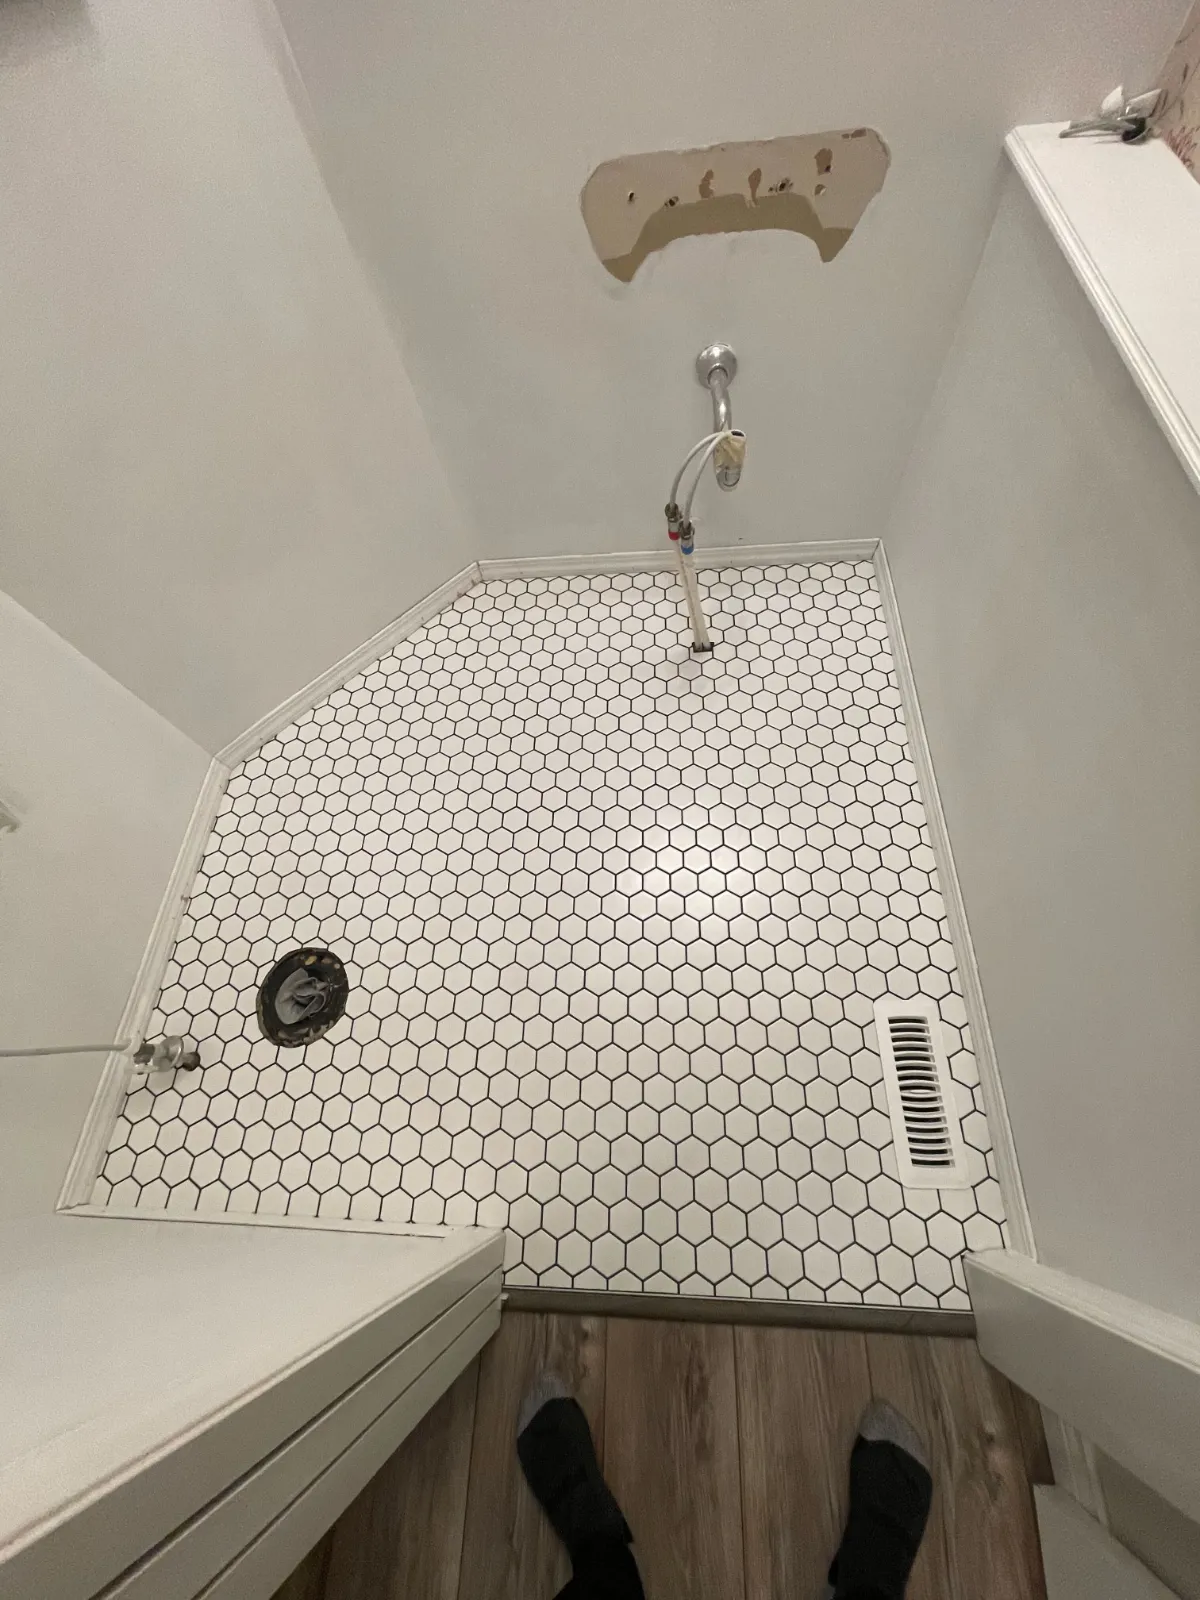
Table Of Contents
1. Understanding the Basics of Flooring and Tile Installation
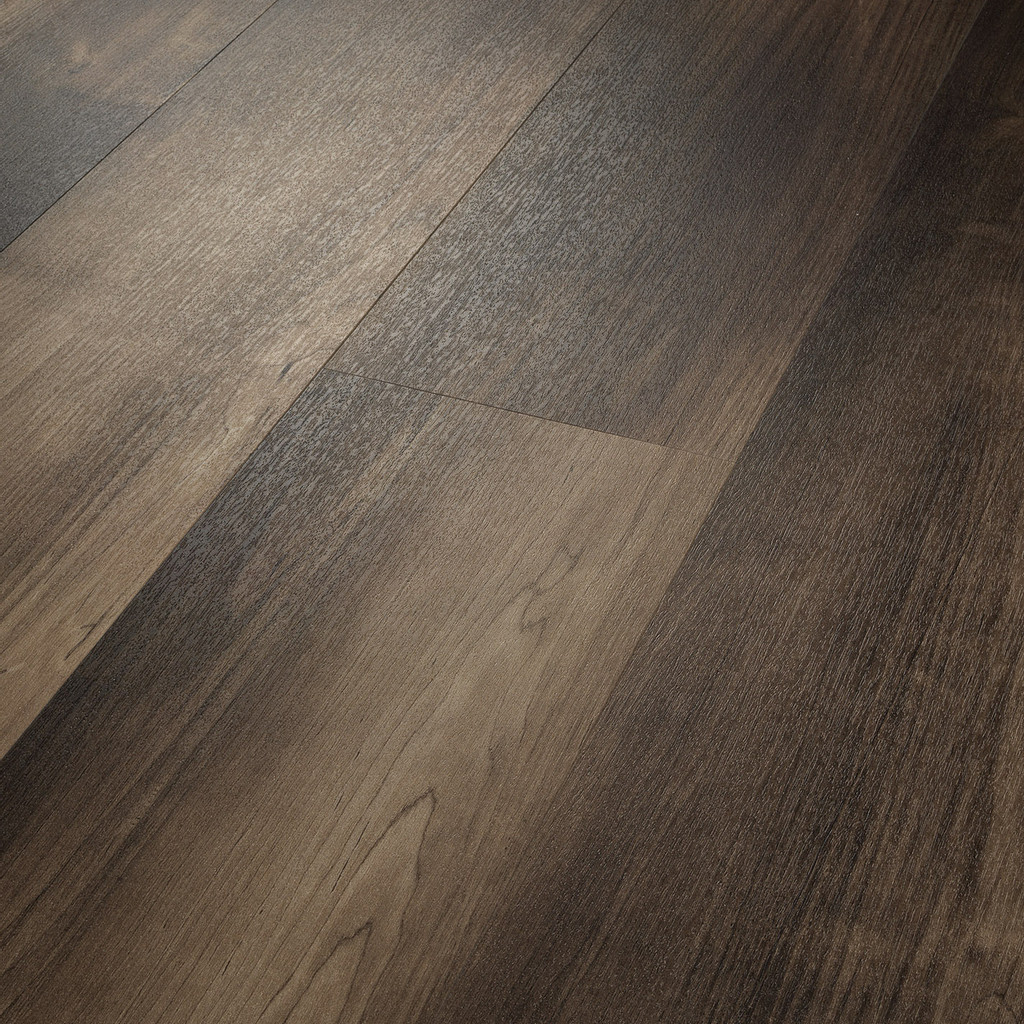
When installing the floor coverings, whether you’re dealing with hardwood, laminate, vinyl, some of the principles remain consistent. Accurate measurement, proper substrate preparation, & meticulous installation techniques. This foundational knowledge is essential for ensuring a durable & beautiful finish that will last for years. Tiles, on the other hand, specifically offer a different set of challenges & rewards.
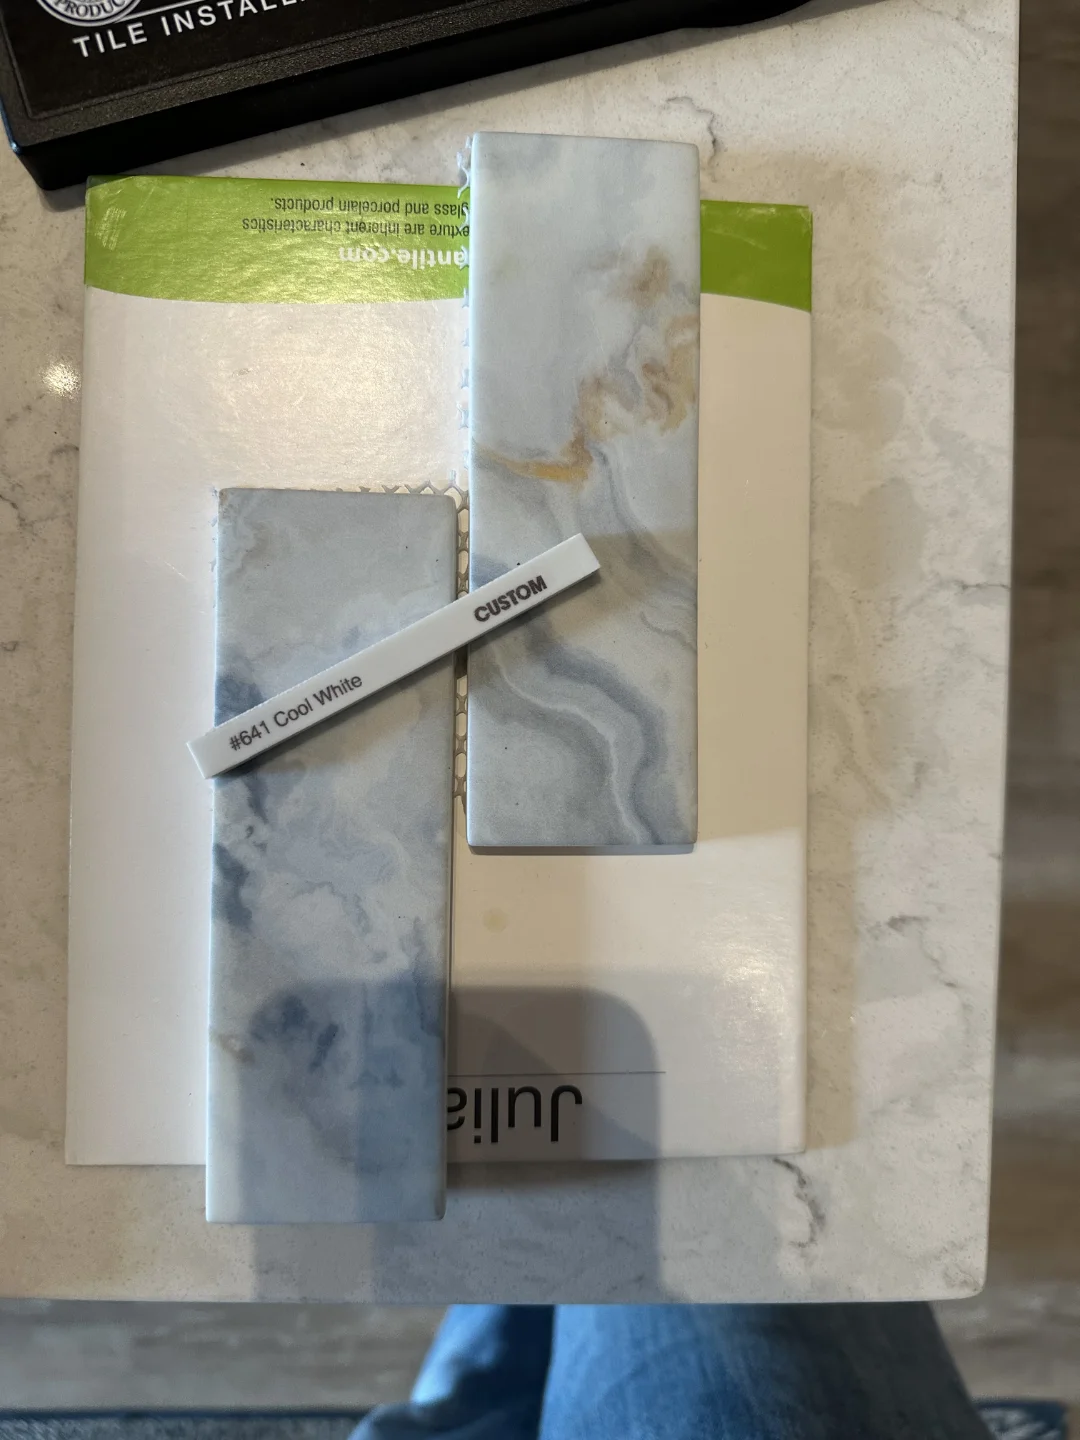
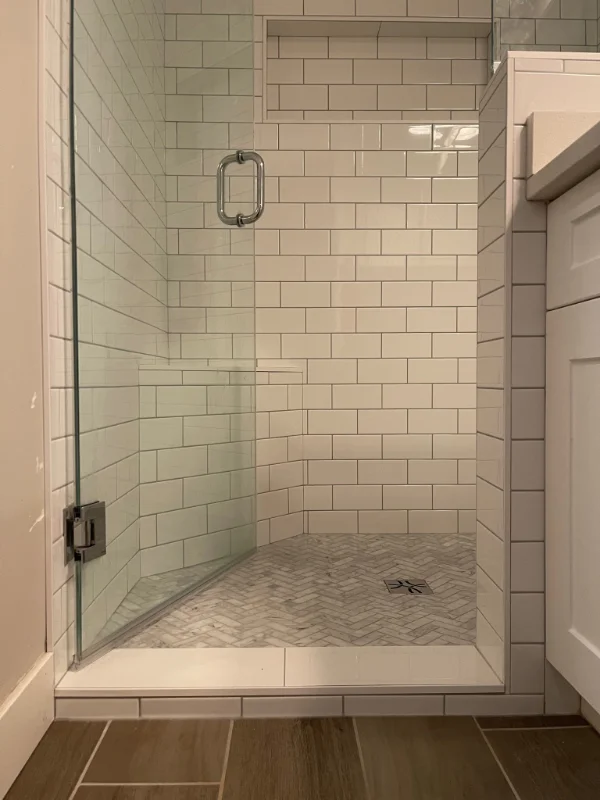
Tiles come in various materials such as ceramic, porcelain, stone, metal & glass, each with its unique properties and installation requirements. Important factors in tile installation lies in having proper substrate preparation, using the right mortar, ensuring a level surface, and choosing superior grouting products. Tiles can be installed on floors, walls & fireplaces and bathrooms making them a versatile option for any space in your home.
Important factors in flooring and tile installation is the layout or pattern. The layout affects how much of a complex installation it can be. The amount of material needed also changes depending on pattern and layout. By mastering these basics, you will be well-prepared to tackle your flooring and tile projects with confidence and skill.

2. Essential Tools and Materials for Successful Installation
For tile installation, you will need a tile cutter and wet saw, a notched trowel for spreading adhesive or mortar, levelling clips for keeping all tiles in same plane and lipage free, tile spacers for consistent grout lines, and a rubber grout float for applying grout.
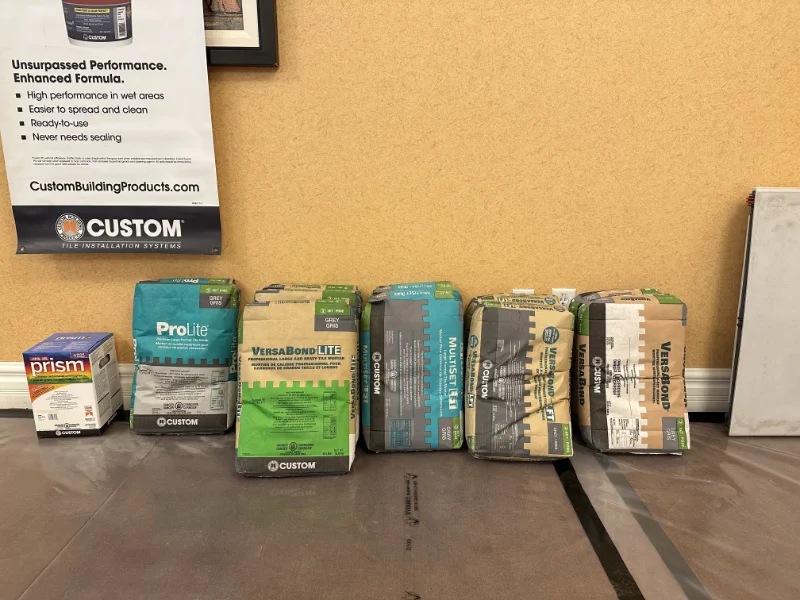
In addition to tools, the materials you choose are equally important. When it comes to tiles, the choice of adhesive, mortar and grout can make a significant difference in the durability of your installation. By investing in quality materials and tools, you set the stage for a successful and long-lasting installation.
3. Preparing Your Space: Measurement and Planning
The next step is planning the layout. For flooring, this means deciding the direction in which you will lay the planks or tiles. For tiles, planning the layout involves determining the starting point and ensuring that the cuts at the edges are balanced. A good rule of thumb is to avoid having small slivers of tile at the edges, which can look unprofessional.
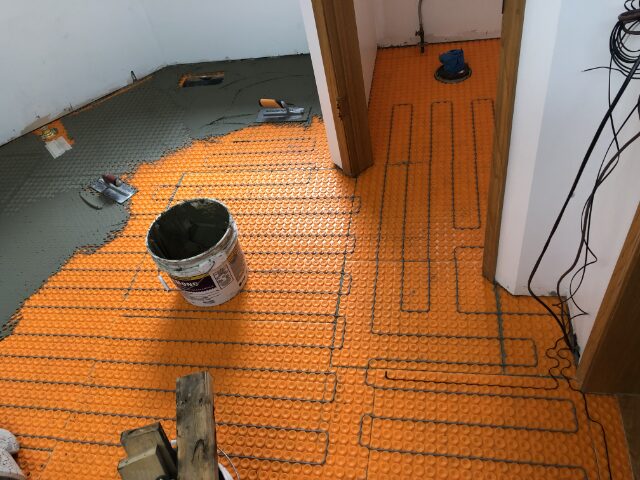
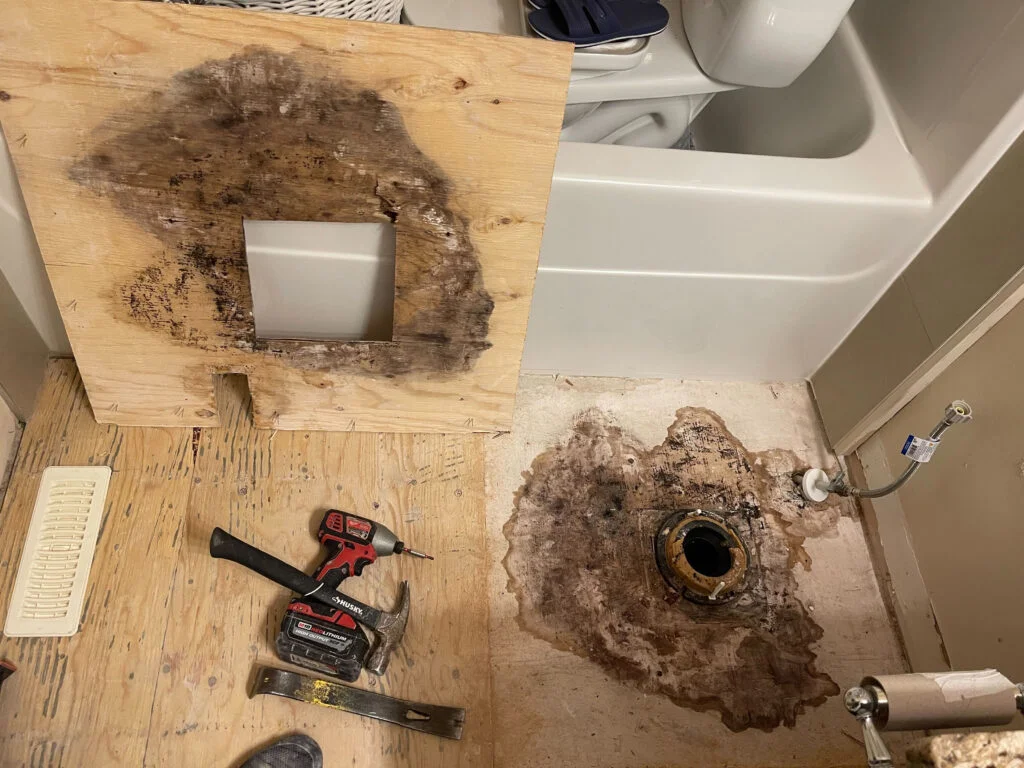
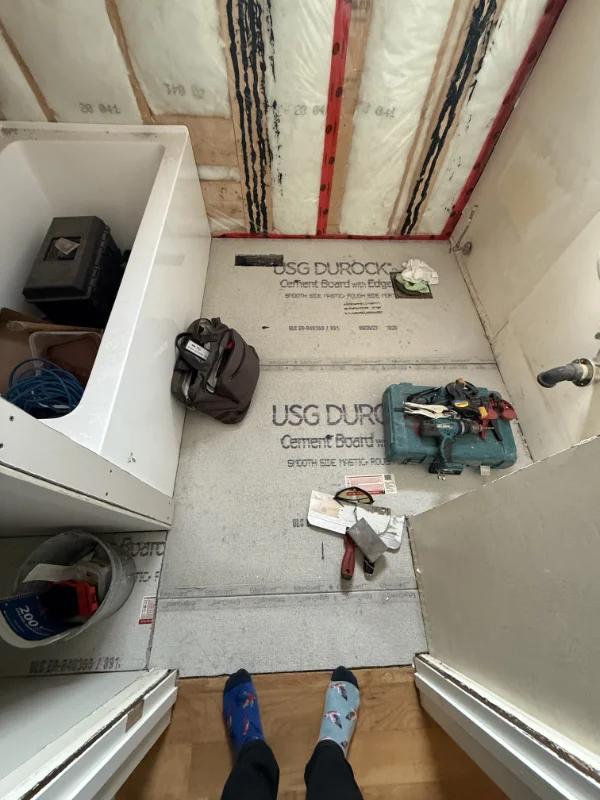
Preparing the substrate is equally important. For flooring, this might involve removing old carpet, smoothing out uneven surfaces, or installing an underlayment. For tile, this could mean cleaning the surface thoroughly, repairing any cracks, applying an anti fracture membrane on floors or a waterproof membrane in wet areas. Proper preparation ensures that your flooring or tile has a stable, clean base to adhere to, reducing the risk of issues down the road.
4. Types of Flooring and Tile: Pros and Cons
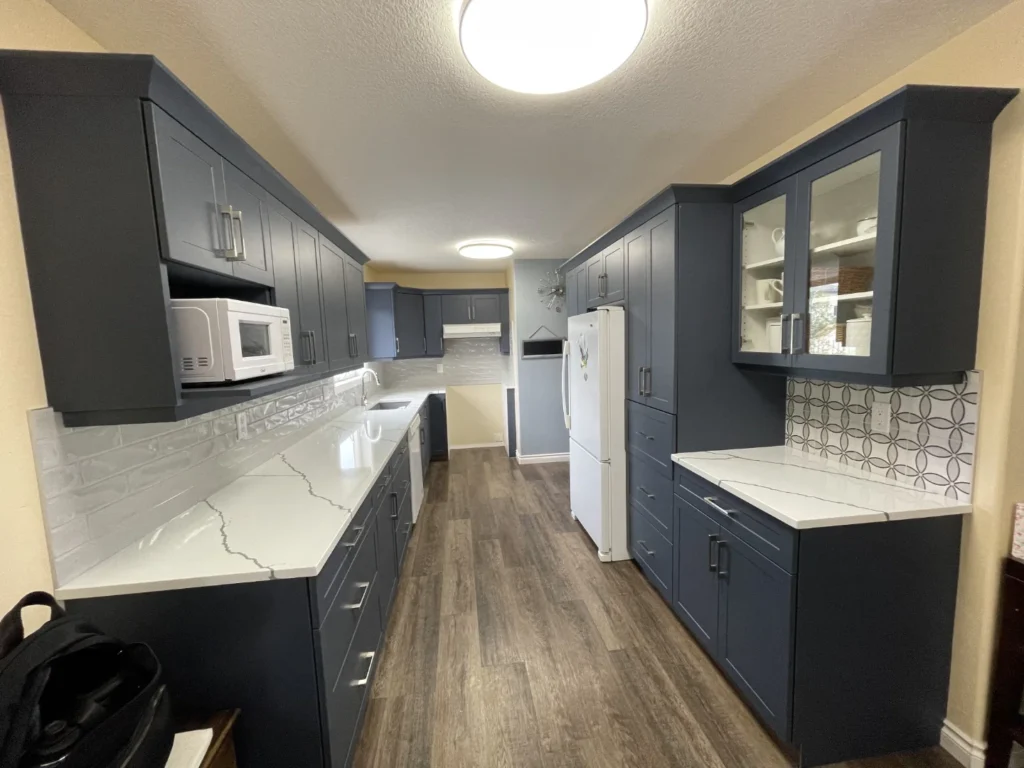
Laminate flooring is an affordable alternative to hardwood, offering a similar aesthetic without the high cost. It is also more resistant to scratches and dents, making it a good option for high-traffic areas or homes with pets. Vinyl flooring is another cost-effective option that is highly resistant to water and stains, making it ideal for kitchens and bathrooms.
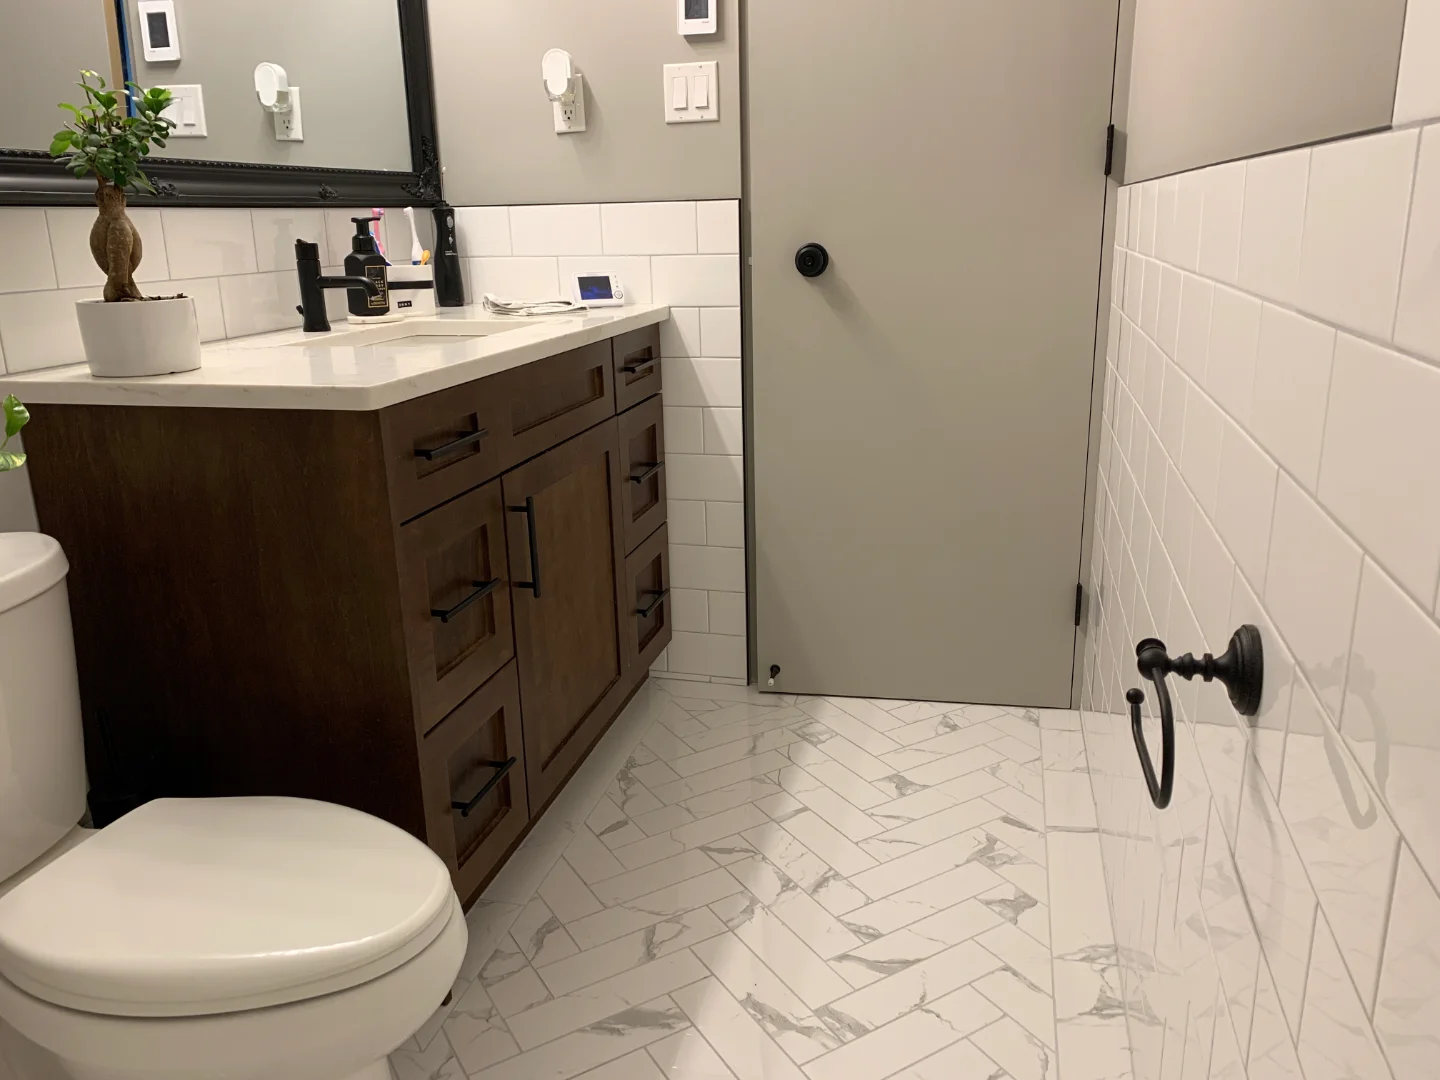
When it comes to tiles, ceramic and porcelain are popular choices due to their durability and versatility. Ceramic tiles are generally less expensive and come in various designs. Porcelain tiles are denser and more durable, making them suitable for both indoor and outdoor use. Natural stone tiles, such as marble and granite, offer unmatched beauty and uniqueness but require more maintenance and can be quite expensive.
5. Step-by-Step Guide to Installing Different Flooring Types
6. Common Mistakes to Avoid During Installation
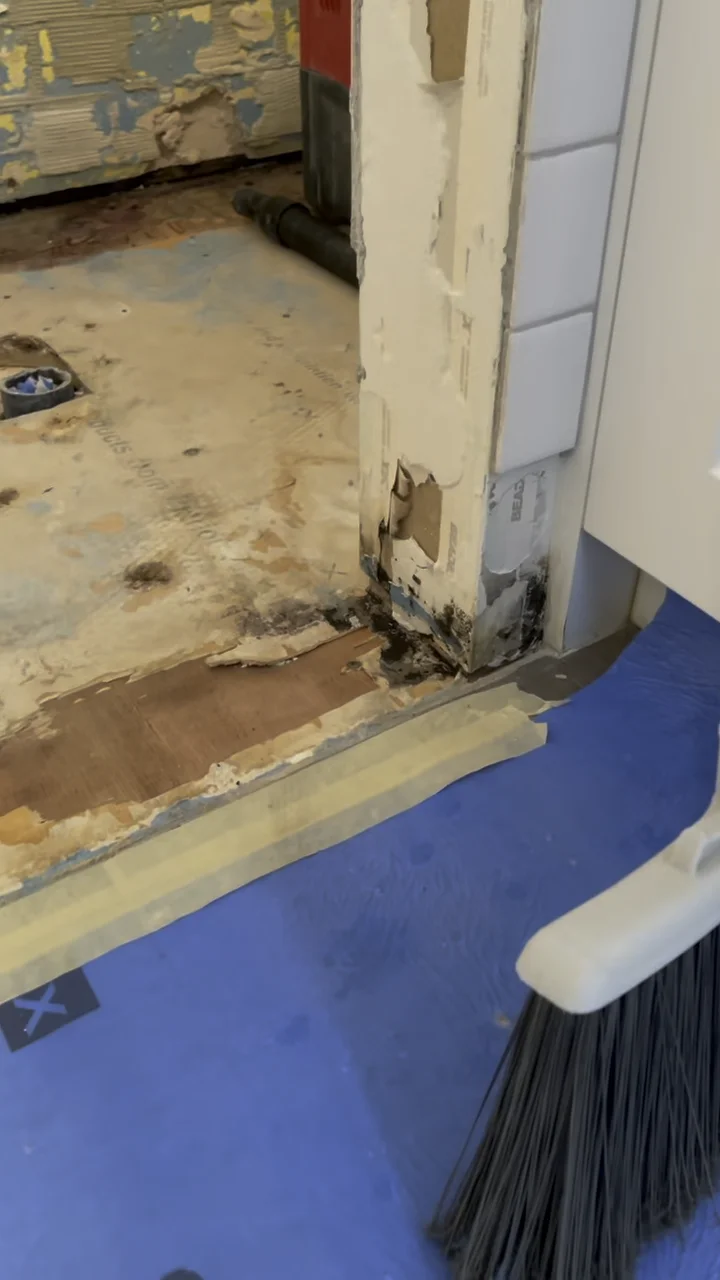
Another common mistake is inadequate surface preparation. Whether you’re laying down flooring or tiles, the substrate must be clean, dry, and level. Ignoring imperfections in the subfloor can lead to uneven surfaces, loose tiles, or even structural issues over time. Additionally, not using the correct adhesive or mortar for your specific material can result in poor adhesion, leading to tiles popping up or flooring coming loose.
Improper layout and measurement are also frequent pitfalls. Rushing through the planning phase can result in awkward cuts or an uneven appearance. Always double-check your measurements and plan your layout carefully before starting.
7. Maintenance Tips for Long-lasting Flooring and Tile
Laminate flooring is relatively low-maintenance but still requires regular cleaning to maintain its appearance. Sweep or vacuum to remove dirt and dust, and use a damp mop with a laminate-specific cleaner for deeper cleaning.Vinyl flooring is even more forgiving when it comes to maintenance. Regular sweeping and occasional mopping with a mild cleaner are usually sufficient.
Tile maintenance varies depending on the type of tile and grout used. For ceramic and porcelain tiles, regular sweeping and mopping with a mild cleaner will keep them looking their best. Natural stone tiles require a bit more care, as they can be more susceptible to staining and etching. Grout lines can be a magnet for dirt and stains, so periodic scrubbing with a grout cleaner and sealing the grout can help keep them clean and protected.
8. Hiring a Professional vs. DIY Installation
Hiring a professional tile contractor can provide peace of mind, as experienced installers have the expertise and tools to handle any challenges that may arise. They can also complete the job more quickly, minimizing disruption to your home.
On the other hand, DIY installation can be a rewarding experience that saves you money. With the right tools, materials, and guidance, many homeowners can successfully complete their flooring or tile projects. DIY projects also offer the flexibility to work at your own pace and make adjustments as needed.
It requires a significant time commitment and a willingness to learn new skills. Mistakes can be costly and time-consuming to fix, and the final result may not be as polished as a professional job.
9. Cost Considerations: Budgeting for Your Flooring Project
In addition to materials, consider the cost of tools and supplies. If you’re doing a DIY installation, you may need to purchase or rent specialized tools such as a tile cutter, flooring nailer, or wet saw. Don’t forget to account for underlayment, adhesive, grout, and other necessary supplies. These costs can add up quickly, so it’s important to include them in your budget from the beginning.
Labor costs can vary widely depending on the complexity of the project and the experience level of the installer. Be sure to ask for a detailed estimate that includes all aspects of the job, from preparation to cleanup. Finally, set aside a contingency fund to cover any unexpected expenses that may arise during the project. This could include repairs to the subfloor, additional materials, or last-minute changes to the design.
10. Conclusion: Achieving a Flawless Finish in Your Home
Choosing the right type of flooring or tile and following a step-by-step installation guide can help you achieve a professional-looking finish, whether you’re a seasoned DIY enthusiast or a first-time installer. Avoiding common mistakes and following proper maintenance practices will ensure that your new flooring or tiles remain beautiful and durable for years to come.
In the end, the satisfaction of seeing a flawlessly finished floor or tile installation is well worth the effort. It not only enhances the aesthetic appeal of your home but also adds value and functionality. With the right approach and a bit of patience, you’ll be well on your way to achieving a flawless finish that impresses both guests and family alike.
Our Frequently Asked Questions
The three essentials are accurate measurement, proper surface preparation, and careful installation techniques. These ensure durability and a polished final look.
Yes. While both require basics like a tape measure and level, tile installation usually needs additional tools such as a wet saw, notched trowel, spacers, and a grout float.
Each has pros and cons. Hardwood offers timeless beauty but requires maintenance. Laminate and vinyl are cost-effective and durable, while tile is versatile, water-resistant, and highly customizable.
Always plan for at least 10–15% extra to cover cuts, mistakes, or future repairs. This prevents running out mid-project.
Skipping acclimation of materials, poor surface preparation, using the wrong adhesive, and rushing the layout plan. These can lead to uneven floors, gaps, or tiles lifting later.
• Hardwood: Sweep regularly, avoid excess water, use protective pads.
• Laminate/Vinyl: Sweep, damp mop, avoid harsh chemicals.
• Tile: Use mild cleaners, seal grout, and avoid abrasive products (especially on natural stone).
It depends on your skill, time, and budget. DIY saves money and offers flexibility, while professionals bring expertise, speed, and polished results.
Include material costs, tools, underlayment, adhesives, grout, and labor if hiring a pro. Always set aside a contingency fund for surprises like subfloor repairs.