


The Trim-Strip Layout Trick and a 4-Inch Mosaic Insert Spec in Beaumont
Beaumont is a fast-growing town immediately south of Edmonton, with a new-build housing stock that has expanded steadily through the 2010s and 2020s as families look for larger lots within commuting distance of the capital. New-build tile packages in Beaumont often run as builder-specified scopes where the developer has locked the same design across multiple comparable lots in the development. On this Beaumont new build the spec called for a 12 by 12 field in a straight lay with a 4-inch mosaic insert detail running through both the kitchen backsplash and the bathroom wall and floor. The Tile Experts ran the full scope: kitchen backsplash with ReliaBond using a trim-strip layout reference, bathroom wall and floor with VersaBond, and the entire build grouted in Prism.
The Trim-Strip Layout Reference on a Kitchen Backsplash
The install on this build started with a layout detail that separates a careful tile crew from a rushed one: a piece of trim strip set along the bottom of the backsplash zone to guide the first course. What the trim strip does: a thin straight piece of trim is mechanically pinned to the wall at the exact height of the first course of tile, perfectly level across the full backsplash run. The first row of tile then sits directly on top of the trim, which holds it at the correct height and prevents it from sliding downward while the bond coat is grabbing. Once the bond coat has set on the first few courses, the trim strip is removed and the small gap it leaves behind sits hidden behind the countertop or finished with a coordinating sealant. Why this matters on a kitchen backsplash: the first course of a kitchen backsplash typically lands at the top of the counter, where the cabinetry and countertop create a reference line that is rarely perfectly level. Sighting the first row to the counter edge guarantees the entire backsplash field will inherit any unevenness in the counter, which then reads as a sloping backsplash. Setting the first course to a true-level trim strip instead of to the counter line is the install discipline that produces a backsplash that reads square against the cabinetry above. The bond coat: the backsplash was set with ReliaBond Tile Adhesive, a Type 1 organic mastic engineered for interior dry-zone vertical wall applications, with the grab and open time that match the kitchen backsplash workflow.
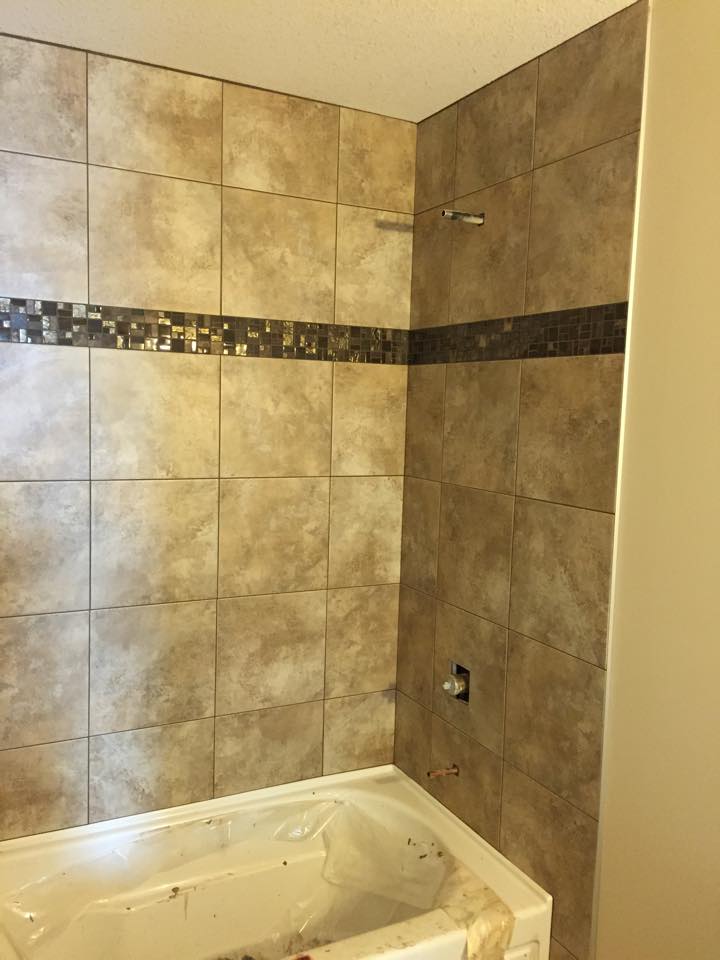
The 12×12 With 4-Inch Mosaic Insert Detail
The design hook on this Beaumont build is the 4-inch mosaic insert detail running through the 12 by 12 field. What a mosaic insert is: a defined horizontal band of mosaic tile interrupting the 12 by 12 field at a specific course, typically running the full length of the wall at one consistent height. The 4-inch dimension refers to the mosaic band height. Why 4 inches: a 4-inch band is wide enough to read as a deliberate design accent without overpowering the 12 by 12 field around it, and it lands at a proportion that works inside a typical kitchen backsplash height (15 to 18 inches from counter to upper cabinet) and inside a typical bathroom wainscot height. The same 4-inch band running through both the kitchen and the bathroom ties the two rooms into one design language across the build. Why this is the right spec for a production new build: the 12 by 12 plus mosaic insert formula is the most reliable production-home tile spec in the Edmonton-area market. The 12 by 12 ages without dating, the mosaic insert carries the design statement, and the homeowner can differentiate their build from a neighbour’s by selecting a unique mosaic. The tile crew can mobilize across multiple comparable lots in the same development with minimal layout re-planning because the 12 by 12 field stays constant.
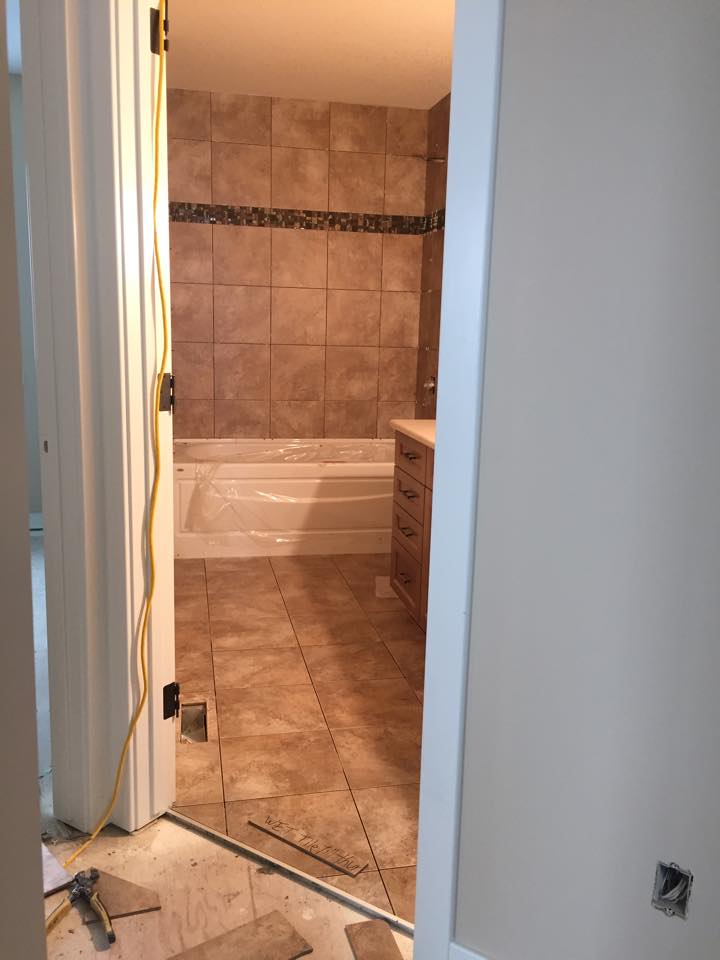
The Bathroom Wall and Floor With VersaBond
The bathroom 12 by 12 field (both wall and floor, with the same 4-inch mosaic insert detail running through both) was set with VersaBond Mortar. Why VersaBond rather than ReliaBond in the bathroom: the bathroom wall sits in a continuous moisture environment that is fundamentally different from a kitchen backsplash. Even outside the wet zone, the bathroom wall sees humidity cycling at every shower, and a 12 by 12 wall tile in that environment demands the polymer-modified portland-cement chemistry of VersaBond rather than the organic mastic chemistry of ReliaBond. VersaBond’s bond strength carries the heavier 12 by 12 vertical tile, and the polymer modification provides the flexibility the bathroom substrate cycling demands. The bathroom floor: VersaBond is the manufacturer-correct specification for a 12 by 12 porcelain floor over a residential bathroom subfloor, with the bond strength and flexibility to handle daily traffic and the seasonal cycling every Edmonton subfloor lives through. The mosaic insert in the bathroom: the same 4-inch mosaic band runs through the bathroom wall at a deliberate course, set with the same VersaBond, and the bathroom and kitchen read as one connected design conversation.

Why Prism Grout Across the Entire Build
Every joint across the entire tile package (kitchen backsplash, bathroom wall, bathroom floor, and the mosaic insert bands) was grouted with Prism Grout. Why one grout across the whole build: Prism is a high-performance, stain-resistant calcium-aluminate cement grout that performs across kitchen wall, bathroom wall, and bathroom floor applications. Using one grout across the entire build keeps the joint reading consistent room to room and simplifies the install workflow for both the setter and the homeowner who is choosing the grout colour. Why Prism specifically: the calcium-aluminate chemistry resists efflorescence (the white powdery deposit that can develop on cement grouts in moisture-exposed environments), holds its colour reading across years of cleaning-product exposure, and is rated for both wet-zone and dry-zone applications. The mosaic joint: a mosaic insert has many small joints per square foot, and Prism’s stain resistance is especially valuable in that high-joint-density environment because the mosaic band sits at eye level where any joint discolouration would read immediately.
Planning a builder-spec new-build tile package with 12 by 12 and mosaic insert detailing in Beaumont or anywhere south of Edmonton? Call The Tile Experts at 587-333-9800 or request a quote.

Beaumont New Build FAQ
How much does a 12×12 with 4-inch mosaic insert tile package cost in a Beaumont new build?
For a project of this scope (kitchen backsplash with ReliaBond, bathroom wall and floor with VersaBond, 4-inch mosaic insert detail through both rooms, full Prism grout finish), plan on 7,500 to 13,500 dollars in tile-scope labour and material, depending on mosaic selection and total square footage of tile across the build.
Why use a trim strip to support the first course of a kitchen backsplash?
The trim strip is set perfectly level across the full backsplash run and holds the first row of tile at the correct height while the bond coat grabs. Setting the first course to the trim strip rather than to the counter line guarantees the backsplash reads square against the cabinetry, even if the counter itself is not perfectly level.
Why does the bathroom wall use VersaBond instead of ReliaBond?
The bathroom wall sits in a continuous humidity cycling environment from daily showers, and a 12 by 12 wall tile in that environment demands polymer-modified portland-cement thinset (VersaBond) rather than organic mastic (ReliaBond). The chemistry matches the application environment. See our bathroom tile installation service.
Tile Installation in Beaumont and South of Edmonton
Beaumont sits immediately south of Edmonton’s southern edge, with neighbours in Leduc, Nisku, Devon, Ellerslie, and the broader south capital region. Builder-spec new-build tile packages, 12 by 12 with mosaic insert formulas, and production-home kitchen and bathroom scopes are some of the most common projects in this fast-growing south-corridor housing market. The Tile Experts install bathrooms, kitchens, floors, custom showers, fireplaces, and feature walls across Beaumont, Leduc, Nisku, Devon, Ellerslie, and the rest of the south capital region, plus the full Edmonton metro area. Contact us or call 587-333-9800 for a free in-home walkthrough.
More Projects in Beaumont and the Edmonton Area
Explore more recent tile installation work by The Tile Experts.
